Making a balloon dog is one of those skills that looks impossible until you actually try it—then suddenly you’re the coolest person at every birthday party. Whether you’re a parent looking to entertain kids, an event planner needing a signature activity, or just someone who wants to impress friends, learning how to create the perfect balloon dog is easier than you think. This guide walks you through everything: materials, step-by-step techniques, troubleshooting common mistakes, and how to level up your balloon dog game from basic poodles to elaborate multi-balloon creations.
What Is a Balloon Dog?
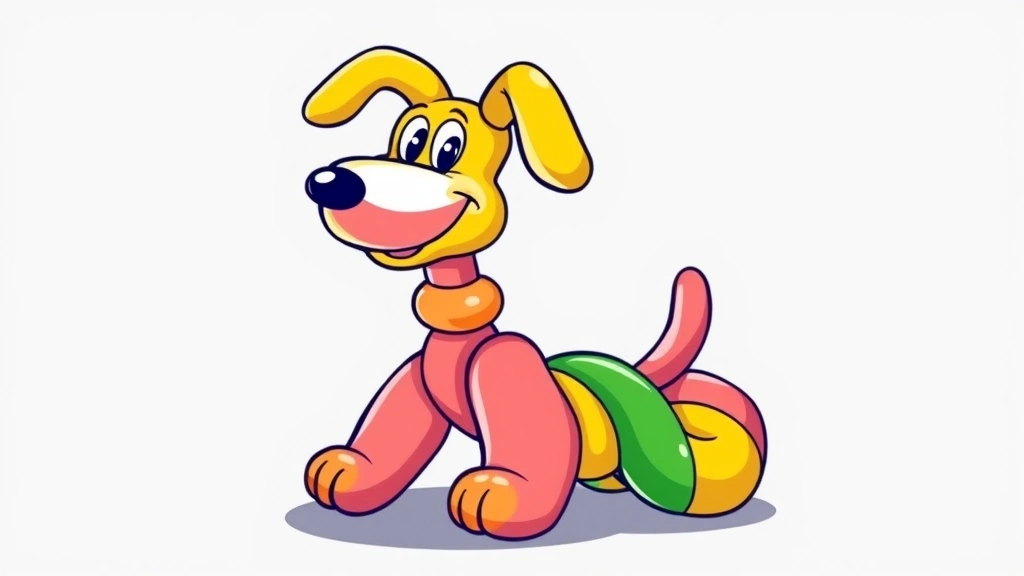
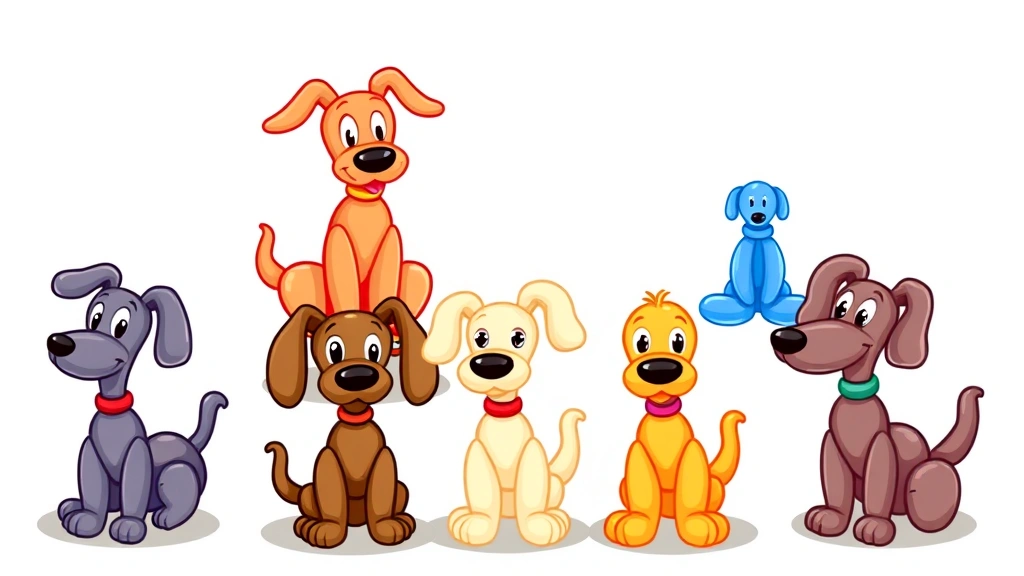
A balloon dog is a twisted balloon sculpture shaped to resemble a dog. It’s typically made from one or more long, thin balloons (called modeling balloons) that are twisted at specific points to create a head, ears, body, and legs. The beauty of a balloon dog is that it’s simple enough for beginners but complex enough to keep enthusiasts challenged for years.
The most iconic balloon dog sculpture is Jeff Koons’ famous artwork—a giant stainless steel mirror-polished dog that sold for over $58 million. But don’t worry; we’re not aiming for that price tag. Our focus is on the classic twisted balloon version that’s perfect for parties, entertainment, and fun.
Balloon dogs have been a staple of street performers, clowns, and party entertainers for decades. Kids love them because they’re colorful, interactive, and feel like magic when they’re created right in front of them. Adults appreciate the meditative quality of the twisting process and the sense of accomplishment when you nail your first one.
Materials & Tools You’ll Actually Need
Here’s the honest truth: you don’t need much to start making balloon dogs. But having the right stuff makes the difference between frustrated and flowing.
Essential Materials
- Modeling balloons: These are long, thin balloons specifically designed for twisting. They’re not regular party balloons. The most common size is 260 (2 inches wide, 60 inches long). Buy them in bulk; you’ll pop plenty while learning. Standard colors are red, blue, yellow, and white, but specialty colors exist for advanced designs.
- Air pump: Hand-pumping 50 balloons will destroy your lungs and hands. Get a manual or electric pump. Trust me on this one. A basic hand pump costs $5-15 and saves your sanity.
- Balloon knot tool (optional but helpful): This small plastic device helps tie balloon knots without hand cramps. Beginners often struggle with the tying part; this tool eliminates that frustration.
Nice-to-Have Additions
- Marker for eyes: A permanent marker lets you add personality to your balloon dog with simple dots or expressions.
- Balloon decorating kit: Some kits come with stickers, googly eyes, or ribbon to dress up your creation.
- Practice balloons: Cheap balloons for learning. You’ll destroy plenty before you get good.
Real talk: You can make a decent balloon dog with just modeling balloons and a pump. Everything else is enhancement. Start minimal, add tools only if you get frustrated.
The Basic Balloon Dog Technique
Before we get into step-by-step instructions, let’s talk about the core technique that makes balloon dogs work: the twist.
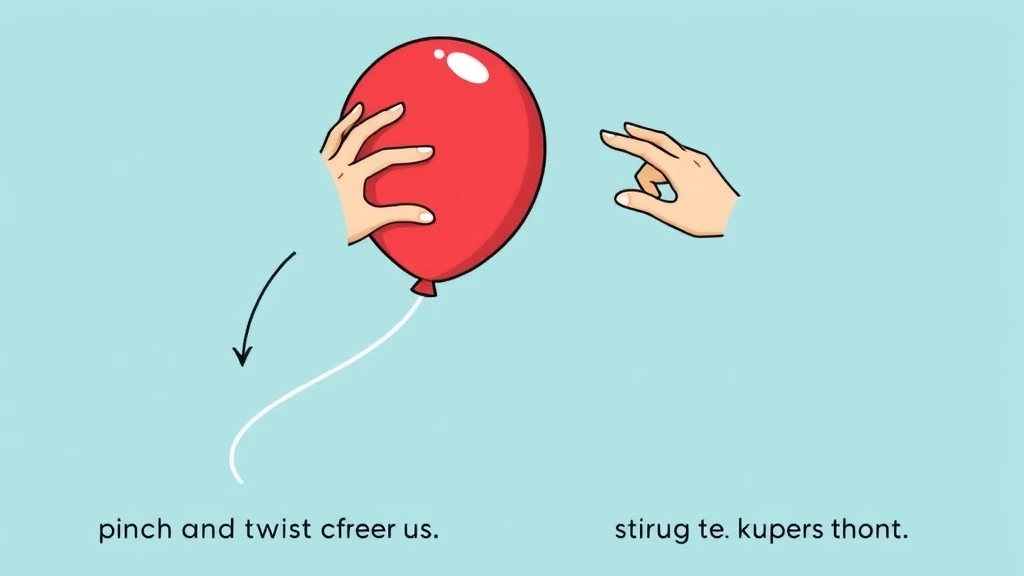
Twisting is the foundation of all balloon sculpture. When you twist a balloon, you’re creating a bubble—a section of balloon that’s pinched and twisted to lock into place. Think of it like tying a knot in the balloon material itself. The key is understanding that each twist creates a lock point. Once you lock a twist, it generally stays locked (unless you twist it the wrong way, which is a common beginner mistake).
There are three main types of twists:
- Basic twist: The most common. You pinch the balloon, twist it 2-3 times in one direction, and the section stays put.
- Ear twist: A variation where you create a small bubble and twist it at both ends to lock it in place. This is how you make ears.
- Link twist: When you twist two separate balloons together to connect them. This is for multi-balloon designs.
The pressure inside the balloon matters. If it’s too soft, twists won’t hold. If it’s too hard, the balloon will pop when you twist. You want it firm but with a little give—like squeezing a stress ball. As you practice, you’ll develop a feel for the right pressure.
Step-by-Step Instructions: Making Your First Balloon Dog
Let’s make a classic single-balloon dog. This is the version you see at parties and street fairs.
Step 1: Inflate the Balloon
Inflate your modeling balloon using your pump, but don’t fill it completely. Leave about 2 inches of uninflated balloon at the end. This uninflated section is crucial—it gives the balloon room to expand as you twist. If you fill it all the way, you’ll pop it the moment you start twisting.
The balloon should feel firm but not rock-hard. You should be able to squeeze it gently and feel slight give.
Step 2: Create the First Ear
Tie off the inflated balloon at the nozzle end. Now, starting near the knot, pinch about 1 inch of balloon to create a small bubble. Twist this bubble 2-3 times. You’ve just made the first ear.
Step 3: Create the Second Ear
About 1 inch down from the first ear, create another small bubble the same size. Twist it 2-3 times in the same direction. Now you have a head with two ears.
Step 4: Create the Snout
Move down another 1-2 inches and create a small bubble for the snout. This one should be slightly smaller than the ears. Twist it 2-3 times.
Step 5: Create the Front Legs
Now comes the tricky part. You’re going to create two front legs by making two bubbles side-by-side. Pinch about 1.5 inches of balloon and twist it. This creates a bubble, but you need to separate it into two legs. Bring the twisted section back and twist it again where it connects to the body. Now you have a front leg section with two legs sticking out.
This is where most beginners struggle. The key is twisting firmly enough that the lock holds, but not so hard you pop the balloon. Practice makes perfect here.
Step 6: Create the Back Legs
Move down another 2-3 inches and repeat the front leg process. Same technique: pinch, twist, bring back, twist again to lock.
Step 7: Create the Tail
With the remaining balloon, create a small bubble at the end. This is your tail. Twist it once or twice to lock it in place.
Step 8: Adjust and Shape
Now you have all the pieces. Gently bend and shape the balloon dog to look more dog-like. Curve the snout slightly, angle the ears, position the legs so it looks like it’s standing. Add eyes with a marker if you want personality.
Congratulations. You’ve made your first balloon dog.
Common Mistakes & How to Fix Them
Even experienced balloon artists make these mistakes. Knowing them saves frustration.
Mistake #1: Filling the Balloon Too Full
This is the #1 beginner error. A completely full balloon has nowhere to expand when you twist, so it pops. Always leave 1.5-2 inches uninflated at the end.
Mistake #2: Twisting in the Wrong Direction
If you twist a section one way, then twist the next section the opposite way, your locks will undo each other. Keep twisting in the same direction throughout the entire dog. Once you finish, you can twist individual sections to fine-tune, but during construction, consistency matters.
Mistake #3: Making Bubbles Too Large
Beginners often make ears and legs way too big. They look goofy and use up too much balloon. Ears should be about 1 inch. Legs should be 1.5-2 inches. The head should be 2-3 inches. This proportion looks more dog-like.
Mistake #4: Not Twisting Firmly Enough
A weak twist won’t hold. You need to twist with confidence—2-3 full rotations, then hold it for a second to let the lock set. It feels like you’re going to pop it, but you won’t (unless the balloon is over-inflated, which goes back to mistake #1).
Mistake #5: Giving Up After the First Pop
You will pop balloons. Experienced artists pop balloons. It’s part of learning. Buy a pack of 25 practice balloons and expect to use most of them. Once you’ve made 10-15 dogs, your hands will know what to do without your brain micromanaging every twist.
Pro Tip: Keep popped balloon pieces in a bag. Once you’ve made 3-4 successful dogs, you’ll have the confidence to move on to advanced designs. The practice balloons aren’t wasted; they’re tuition.
Advanced Balloon Dog Designs
Once you’ve mastered the basic single-balloon dog, you can level up. Here are some intermediate and advanced designs.
Multi-Balloon Dogs
Use two or three balloons connected together to create bigger, more detailed dogs. One balloon for the head and front half, another for the back half and tail, and optionally a third for decorative elements. This requires learning link twists (how to connect two balloons) and planning your design before you start inflating.
Dachshund Design
A long, low dog perfect for balloon sculpture. Use a single balloon but make the body section much longer than the basic dog. Create shorter legs and a longer snout. The proportions are different, but the technique is identical.
Poodle with Pom-Poms
Make a basic balloon dog, then attach small inflated balloons to the head, body, and legs using twist connections. This creates that classic poodle look. You’ll need 4-5 balloons total.
Sitting Puppy
Instead of making four legs, make two back legs that are longer and positioned to make the dog sit. The front stays relatively short. Bend the balloon so the dog appears to be sitting down. Add a longer tail that curves up. This design is surprisingly popular with kids.
Advanced designs all follow the same principle: master the basic technique first, then experiment with proportions, multiple balloons, and creative positioning. There’s no secret; it’s just practice and imagination.
Safety Tips & Best Practices
Balloon dogs are fun, but balloons do pop. Here’s how to keep the experience safe and enjoyable.
Popping Prevention
- Keep balloons away from sharp objects: Pins, thorns, rough edges, and sharp fingernails are balloon killers. Check your work area before you start.
- Avoid extreme temperatures: Heat makes balloons expand and pop. Cold makes them brittle. Keep balloons at room temperature.
- Don’t over-inflate: We’ve said this, but it bears repeating. Leave that 1.5-2 inch buffer at the end.
- Use quality balloons: Cheap balloons pop more easily. Modeling balloons from reputable manufacturers (like Qualatex) are worth the extra cost.
For Young Children
According to the U.S. Consumer Product Safety Commission, balloons are a choking hazard for children under 8 years old. Uninflated balloons and pieces of popped balloons are particularly dangerous.
- Always supervise children around balloons.
- Clean up popped balloon pieces immediately.
- Don’t give inflated balloons to very young children without close supervision.
- Consider making balloon dogs with older kids (8+) rather than giving them to younger ones.
Latex Allergies
Most modeling balloons are made from latex. If you or someone you’re making balloon dogs for has a latex allergy, use latex-free balloons. They’re more expensive and slightly harder to work with, but they’re safe. Test them first before committing to a full project.
Safety Warning: Never leave inflated balloons unattended around pets. Dogs and cats can chew and pop them, and ingested balloon pieces can cause serious intestinal blockages. If you’re making balloon dogs at an event with pets present, keep the balloons elevated and out of reach.
Frequently Asked Questions
How long does a balloon dog last?
– A well-made balloon dog lasts anywhere from a few hours to a few days, depending on conditions. Heat, sunlight, and rough handling shorten the lifespan. In a cool, protected environment, some balloon dogs last a week or more. The uninflated section at the end will eventually deflate slightly, but the twisted structure usually holds.
Can I make a balloon dog with regular party balloons?
– Technically yes, but it’s much harder. Regular balloons are thicker and less flexible than modeling balloons. They’re also harder to twist without popping. Modeling balloons (260 size) are specifically designed for twisting and cost about the same as regular balloons. Just buy the right tool for the job.
What’s the best way to learn if I’m a complete beginner?
– Start with YouTube tutorials (watch 2-3 different instructors to see different techniques), buy a bulk pack of practice balloons, and dedicate 30 minutes to making 10-15 dogs. Don’t worry about them looking perfect. Focus on understanding the twist mechanism. By dog #10, your hands will understand the technique even if your brain doesn’t. Then watch tutorials for specific improvements (better ears, smoother twists, etc.).
Why does my balloon dog look lopsided?
– Uneven bubbles. If one ear is bigger than the other, or one front leg is longer than the other, the whole dog looks wonky. Measure your bubble sizes mentally as you go. Ears should match. Front legs should match. Back legs should match. Once you nail consistent sizing, your dogs will look proportional and cute.
Can I use helium balloons for balloon dogs?
– No. Helium balloons are different material (usually latex but different thickness) and are designed to float, not to be twisted. Modeling balloons are air-filled and designed for twisting. Trying to make a balloon dog from a helium balloon will frustrate you and likely end in a pop. Stick with air-filled modeling balloons.
Is balloon dog making a marketable skill?
– Yes. Party entertainers, event planners, and street performers charge $50-200+ per hour to make balloon animals. If you get really good, you can add it to your entertainment toolkit. Start by offering it free at a few kids’ birthday parties, build a portfolio, then charge for it. It’s not a full-time career for most people, but it’s solid side income.
What’s the difference between a balloon dog and balloon animal twisting?
– Balloon animal twisting is the broader skill (making dogs, hats, swords, flowers, etc.). Balloon dog making is one specific application. The techniques overlap, but balloon dogs are usually simpler and more popular. If you want to expand beyond dogs, the same twisting fundamentals apply to other animals.
How do I make a balloon dog look more realistic?
– Add details. Use a marker to draw eyes, nose, and mouth. Add a collar made from a twisted balloon or ribbon. Vary the proportions (longer snout, bigger ears, longer body) to match specific dog breeds. The basic structure stays the same; it’s the details and proportions that create realism.
Can I make balloon dogs with my kids?
– Absolutely. Kids aged 6+ can learn with supervision. Start by having them help inflate the balloons and tie them off. Once they’re comfortable, show them how to make simple twists. The first few will be rough, but kids are often better at this than adults because they have fewer preconceptions about how hard it should be. It’s a great rainy-day activity. Just watch for popped balloons and latex allergies.
Related Reading: Curious about dog behavior? Check out our guides on Are Dogs Ticklish?, Do Dogs Like Kisses?, Why Does My Dog Sit on Me?, and Can Dogs Get Pimples?
Additional Resources: For more information on balloon safety and best practices, visit the Association of American Feed Control Officials and the ASPCA for pet safety guidelines. The American Kennel Club also provides resources on dog breeds and characteristics that can inspire your balloon dog designs.