Learning how to heal a dog’s cut is one of those essential pet parent skills that’ll save you money, stress, and potentially a trip to the vet at 2 AM. Dogs are basically furry chaos agents—they run through brambles, slide across gravel, and somehow find every sharp object in a three-mile radius. When your pup inevitably comes home with a wound, knowing exactly what to do can mean the difference between a quick recovery and a nasty infection.
Table of Contents
- Step 1: Stay Calm and Assess the Damage (Yes, Really)
- Step 2: Clean the Wound Properly (This Matters More Than You Think)
- Step 3: Apply the Right Topical Treatment
- Step 4: Protect the Wound and Prevent Licking
- Step 5: Monitor for Infection and Know When to Bail
- Wound Care for Different Types of Cuts
- Nutrition Supports Healing (Yes, You Can Help From Inside)
- The Timeline: What Normal Healing Looks Like
- Common Mistakes That Slow Healing
- When to Call the Vet Immediately
- Prevention: The Best Medicine
- Frequently Asked Questions
- Summary: You’ve Got This
The good news? Most minor cuts and scrapes are totally manageable at home with the right approach. I’ve worked with countless dogs and their worried owners, and I can tell you that most wounds heal beautifully when you follow a few straightforward steps. Let’s dive into the proven methods that actually work.
Step 1: Stay Calm and Assess the Damage (Yes, Really)
Your dog is probably freaking out, bleeding, and looking at you like you’re supposed to fix everything immediately. Take a breath. Seriously. Dogs pick up on panic, and if you’re stressed, they’ll be stressed. This makes them less cooperative and more likely to snap or bolt.
Start by examining the cut carefully. Is it superficial or deep? Minor cuts are usually shallow, bleed a little, and don’t have jagged edges. Deep cuts that won’t stop bleeding, gape open, or show underlying tissue need veterinary attention—don’t mess around with those. If your dog got cut by something rusty or dirty, that’s also a vet visit situation because tetanus and infection risks are real.
For the purposes of this guide, we’re talking about minor cuts and scrapes that you can safely handle at home. Think small lacerations, abrasions from falls, or shallow punctures that aren’t actively spurting blood.
Step 2: Clean the Wound Properly (This Matters More Than You Think)
This is where most people go wrong. They either use way too harsh chemicals or skip cleaning entirely. Here’s what actually works: gentle, thorough cleaning without overkill.
Start by rinsing the area with cool (not cold) running water for 30-60 seconds. Let the water do the work—don’t scrub aggressively. You’re trying to flush out dirt, debris, and bacteria, not sand down your dog’s skin. If there’s visible dirt or debris stuck in there, use a soft cloth or gauze to gently wipe it away.
After rinsing, you can use a mild antiseptic solution. Diluted chlorhexidine or saline solution works great. If you don’t have those on hand, plain water is honestly fine—it’s the mechanical cleaning that matters most. Skip the hydrogen peroxide and alcohol; they can damage healthy tissue and actually slow healing. Before you reach for topical treatments, check out our guide on Can I Put Neosporin on My Dog? to make sure you’re using the right products.
Pat the area dry gently with a clean towel. Moisture is fine, but standing water invites bacteria.
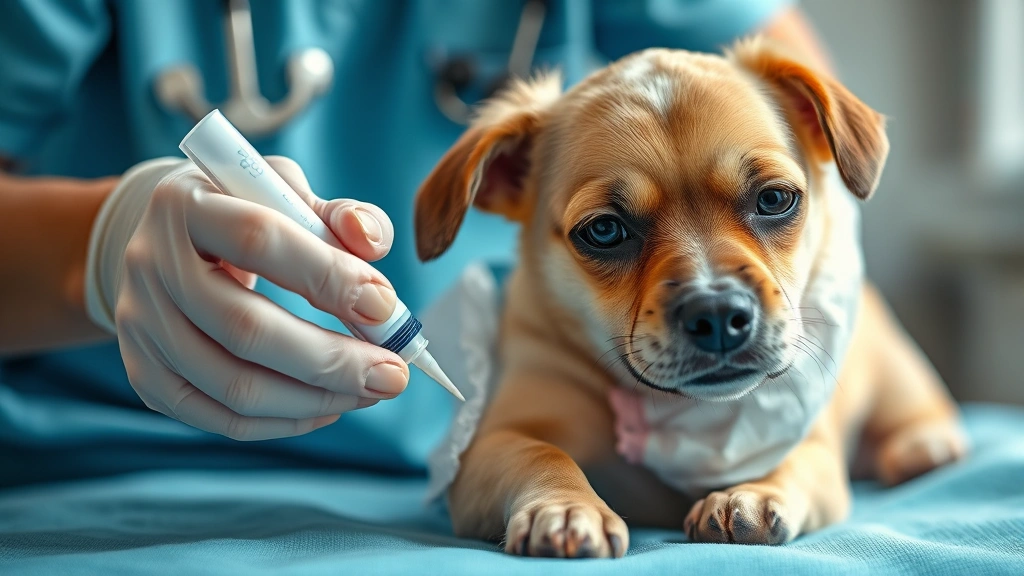
Step 3: Apply the Right Topical Treatment
Now that the wound is clean, it’s time to apply something to promote healing and prevent infection. This is where dog-safe wound care products come in clutch.
Antibiotic ointments designed for dogs are your friend here. Look for products specifically labeled for canine use—they’re formulated to be safe if your dog licks them (and let’s be honest, they will). These typically contain bacitracin, neomycin, or polymyxin B. Apply a thin layer directly to the wound.
If the cut is on a part of your dog’s body they can easily lick, consider using a hydrogel wound dressing instead. These create a moist healing environment and are less tempting to lick than greasy ointments. Some people swear by honey-based wound treatments too—medical-grade honey has legitimate antimicrobial properties and promotes healing.
Whatever you use, apply it once or twice daily until the wound shows signs of healing. You’ll know it’s working when the redness decreases and the wound starts to close up.
Step 4: Protect the Wound and Prevent Licking
Here’s the thing about dogs: they’re basically tiny furry surgeons who immediately undo all your good work by licking their wounds. It’s instinctive, but it introduces bacteria and prevents healing. You need a barrier.
For small cuts on less accessible areas, a simple bandage might work. Use gauze secured gently with medical tape—not so tight that you’re cutting off circulation, but snug enough that it stays put. Change the bandage daily and inspect the wound for signs of infection.
For cuts on paws or areas your dog can easily reach, consider a protective boot or sock. For larger wounds or areas you can’t easily bandage, the classic cone (Elizabethan collar) is still the MVP. Yes, your dog will hate it. Yes, they’ll bump into furniture. But they’ll heal faster, and that’s what matters.
If a cone seems extreme, try a recovery suit or even a loose-fitting t-shirt to cover the area. Get creative—whatever keeps your dog from gnawing at that wound is the right answer.

Step 5: Monitor for Infection and Know When to Bail
This is the critical part that separates successful home care from situations that spiral into infections. You need to watch that wound like a hawk.
Check daily for signs that things are going sideways. Increasing redness, swelling that gets worse instead of better, discharge (especially pus or foul-smelling stuff), warmth around the wound, or your dog acting lethargic or unwell—these are all red flags. If you see any of these, call your vet. Seriously. Infections can get ugly fast.
Also watch your dog’s behavior. If they’re obsessively licking despite your prevention efforts, the wound isn’t healing, or they seem to be in pain, that’s another vet visit situation. There’s no prize for toughing it out.
Wound Care for Different Types of Cuts
Not all cuts are created equal, and the location matters. A cut on a paw pad is different from a cut on the shoulder. Paw wounds are tricky because they’re constantly getting dirty and your dog is walking on them. Keep these extra clean and protected. Consider soaking the paw in warm water for 5-10 minutes daily to keep it clean and promote blood flow.
Cuts on the face or head might look scary but usually heal quickly because of the excellent blood supply. Just keep them clean and watch for swelling around the eyes or mouth.
Deep puncture wounds—even if they seem small—need vet attention. They can trap bacteria deep in the tissue and lead to abscesses. Don’t take chances with these.
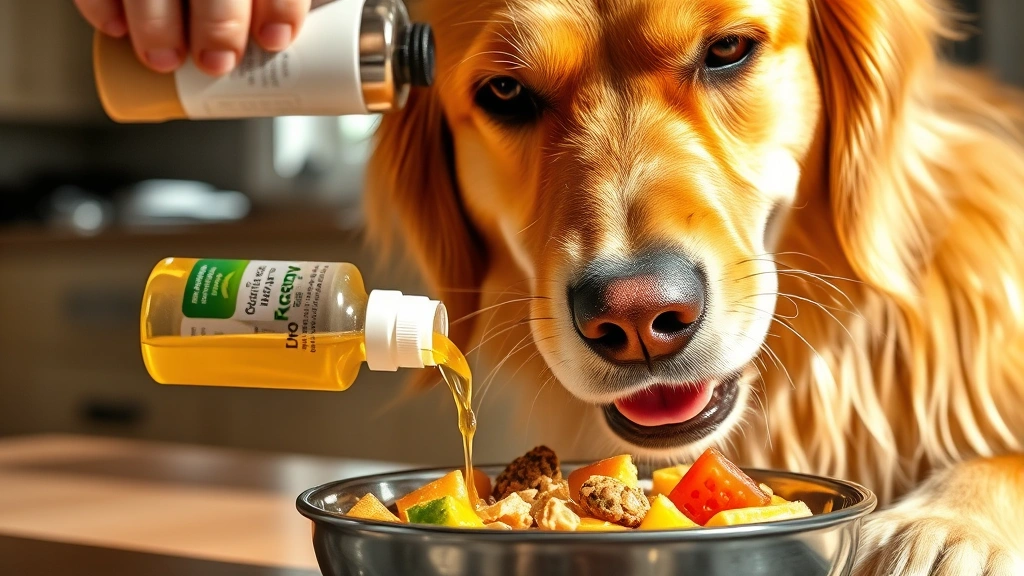
Nutrition Supports Healing (Yes, You Can Help From Inside)
While you’re treating the wound externally, don’t forget that healing happens from the inside too. Proper nutrition supports faster recovery. Make sure your dog is eating a balanced diet with adequate protein—this is essential for tissue repair.
Some vets recommend adding supplements like omega-3 fatty acids, which have anti-inflammatory properties and support skin health. Vitamin C and zinc also play roles in wound healing. If your dog isn’t eating well due to stress or pain, check out our resource on Human Foods for Pets with Dental Issues for some appetite-boosting options. Bone broth is another fantastic addition—it’s nutritious, tasty, and supports healing. We’ve got some great Bone Broth Recipes for Pets if you want to make it fresh.
Keep your dog hydrated too. Water is essential for every biological process, including healing.
The Timeline: What Normal Healing Looks Like
Most minor cuts show improvement within 3-5 days. The bleeding stops, the redness decreases, and you’ll see new skin forming. By 7-10 days, the wound should be noticeably smaller and less angry-looking. Complete healing with minimal scarring typically takes 2-4 weeks depending on the cut’s size and depth.
If your cut isn’t showing improvement by day 5, or if it seems to be getting worse, that’s your cue to call the vet. Don’t wait it out hoping it’ll magically improve.
Common Mistakes That Slow Healing
Let me tell you what I see people doing wrong all the time. First, over-cleaning. You don’t need to wash the wound 10 times a day. Once or twice daily is perfect. Excessive washing can damage new tissue and disrupt the healing process.
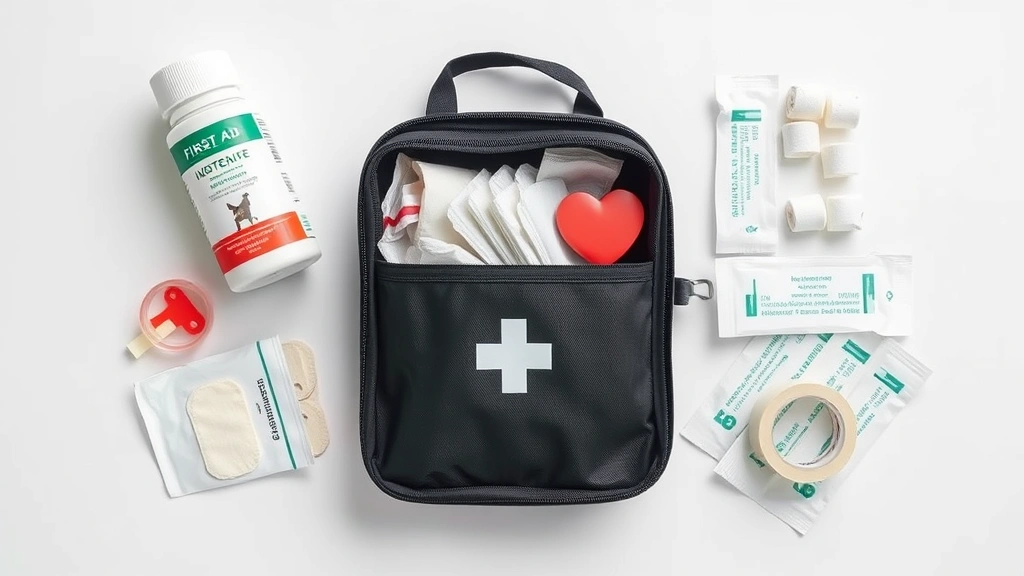
Second, using human products. That first-aid kit in your bathroom? Most of it isn’t safe for dogs. Hydrogen peroxide, alcohol, and some human antibiotic ointments can cause problems. Stick with dog-safe products or consult your vet.
Third, ignoring signs of infection. People sometimes think “oh, it’ll probably be fine” and then the infection spreads and suddenly it’s a much bigger problem. Trust your gut. If something seems off, get professional help.
Fourth, not preventing licking. I get it—cones are annoying. But a dog licking a wound constantly is basically undoing all your work. Bite the bullet and use protection.
When to Call the Vet Immediately
Some situations require professional help right away. Don’t wait if you see any of these: the cut won’t stop bleeding after 10 minutes of pressure, the wound is deep or gaping, there’s visible underlying tissue or bone, the cut is from something dirty or rusty, your dog is limping severely or can’t use a limb, or your dog seems to be in severe pain.
Also call if your dog has a fever, seems lethargic, or is vomiting—these could indicate a systemic infection. When in doubt, call. Your vet would rather hear from you about a minor cut than have you show up with a serious infection.
Prevention: The Best Medicine
Obviously, preventing cuts in the first place is ideal. Keep your yard free of sharp objects, broken glass, and rusty metal. Trim any rough branches or thorns near areas where your dog plays. Check your dog’s paws regularly for cuts or embedded debris.
During walks, stay aware of your surroundings. Broken glass on sidewalks, sharp rocks, and rough terrain can all cause cuts. During hiking or outdoor adventures, consider protective booties to shield those paws.
Know your dog’s limits too. If your senior dog isn’t as agile as they used to be, they might need more protection during active play. If your pup has a history of cutting their paws, be extra vigilant.
Frequently Asked Questions
How long does it take for a dog’s cut to heal?
Minor cuts typically show improvement within 3-5 days and heal completely in 2-4 weeks. Deeper wounds take longer. If your cut isn’t improving after a week, see your vet.
Can I use Neosporin on my dog’s cut?
Plain Neosporin (without the pain reliever ingredient) is generally considered safe for dogs in small amounts, but dog-specific antibiotic ointments are preferable. Always check with your vet first, and see our detailed guide on Can I Put Neosporin on My Dog?
What should I do if my dog’s cut is infected?
Signs of infection include increased redness, swelling, discharge, warmth, or foul odor. Call your vet immediately. Infected wounds may need antibiotics or professional cleaning.
How can I stop my dog from licking their wound?
Use an Elizabethan collar (cone), recovery suit, protective boot, or bandage depending on the wound location. Keep the area clean and covered to discourage licking.
Is it normal for a dog’s cut to bleed a lot?
Minor bleeding is normal and actually helps clean the wound. If bleeding doesn’t stop after 10 minutes of gentle pressure, or if it’s spurting, seek veterinary care immediately.
Can I give my dog pain medication for a cut?
Don’t give your dog over-the-counter pain medication without vet approval. Many human pain relievers are toxic to dogs. Your vet can recommend safe pain management options if needed.
What’s the difference between a cut and a scrape?
Cuts penetrate the skin (lacerations), while scrapes remove the surface layer (abrasions). Both need cleaning, but deep cuts require more careful monitoring and may need stitches.
Summary: You’ve Got This
Learning how to heal a dog’s cut isn’t rocket science, but it does require attention and care. The five steps—assess, clean, treat, protect, and monitor—form the foundation of successful home wound care. Most minor cuts respond beautifully to this approach, and your dog will be back to their chaotic self in no time.
Remember that your vet is always there if you’re unsure. There’s no such thing as a silly question when it comes to your dog’s health. Trust your instincts, watch for infection, and don’t hesitate to get professional help if something seems off.
Your dog depends on you to keep them safe and healthy. With these proven steps and a little patience, you’ll be a wound-care pro in no time. Now go forth and bandage those cuts with confidence!
For more pet safety information, check out our Pet Poison Hotline resource and our comprehensive guide on Pet Food Safety to keep your furry friend protected from all angles.