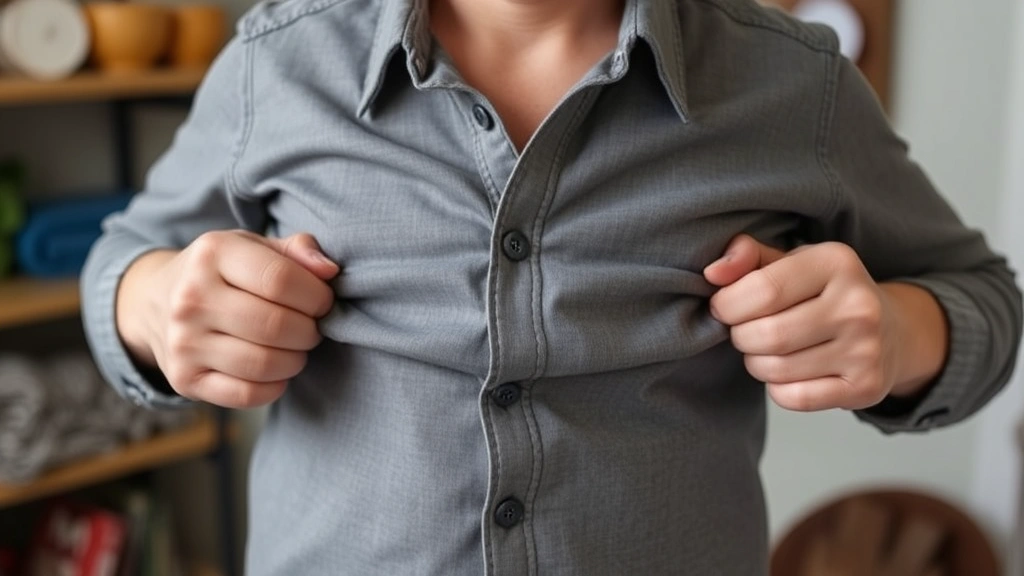
Learning how to put on harness dog correctly can transform your walks from a wrestling match into a smooth, enjoyable experience for both you and your furry friend. If you’ve ever stood there with a tangled mess of straps wondering which leg goes where, you’re not alone—but the good news is that it’s way easier than it looks once you know the trick.
Table of Contents
- Why Your Dog Needs a Proper Harness Fit
- Choosing the Right Harness Type for Your Pup
- Step 1: Gather Your Supplies and Calm Your Pup
- Step 2: Position Your Dog and Open the Harness
- Step 3: Guide Front Legs Into the Openings
- Step 4: Secure the Back and Adjust Straps
- Step 5: Do the Final Fit Check and Test
- Common Mistakes People Make When Putting On Dog Harnesses
- Training Your Dog to Love Harness Time
- Special Considerations for Different Dog Sizes and Breeds
- Maintenance and When to Replace Your Harness
- Frequently Asked Questions
- Final Thoughts: You’ve Got This
Why Your Dog Needs a Proper Harness Fit
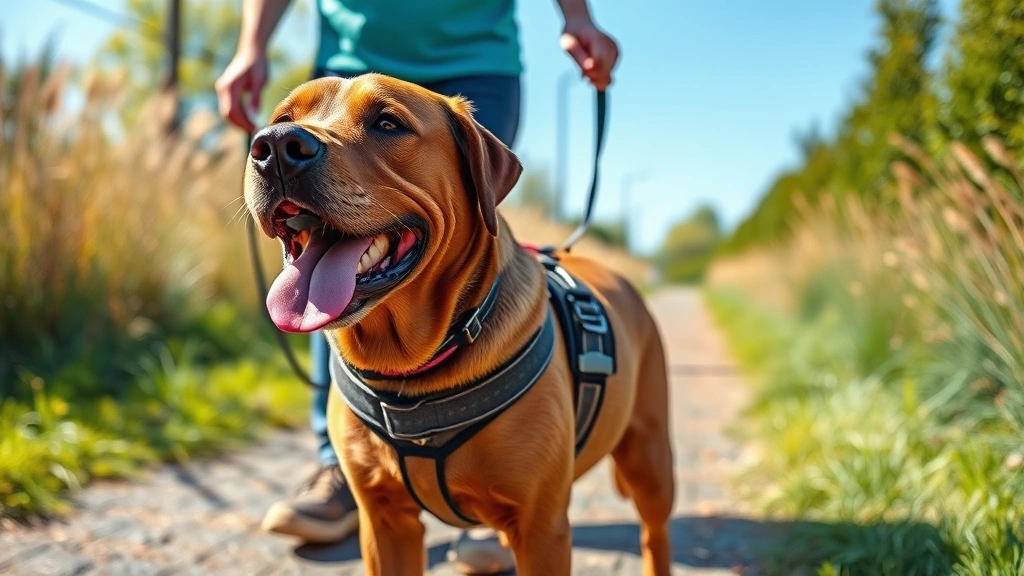
Before we dive into the mechanics, let’s talk about why getting this right matters. A poorly fitted harness can slip off, chafe your dog’s skin, restrict movement, or worse—give your pup an escape route right when you need control most. A properly fitted dog harness distributes pressure evenly across your dog’s chest and back instead of putting all the strain on their neck like a collar does. This is especially important for puppies, senior dogs, and breeds prone to tracheal collapse.
Choosing the Right Harness Type for Your Pup
Not all harnesses are created equal, and picking the wrong style can make the whole process frustrating. You’ve got no-pull harnesses that discourage lunging, step-in harnesses that slip on like a backpack, over-the-head designs, and vest-style harnesses. Each type requires slightly different technique for putting it on correctly. The most beginner-friendly option? Step-in harnesses, which are exactly what they sound like—your dog literally steps into them.

Step 1: Gather Your Supplies and Calm Your Pup
Success starts before you even touch the harness. Grab your dog’s favorite treats—you’ll want high-value rewards for cooperation. Find a calm, well-lit space where your dog can stand comfortably without distractions. If your dog is already amped up or anxious, take five minutes to let them settle down. A relaxed dog is infinitely easier to harness than a bouncing puppy or anxious rescue. Some dogs respond well to a quick play session first; others need quiet time. Know your dog.
Step 2: Position Your Dog and Open the Harness
For a step-in harness, have your dog stand naturally in front of you or beside you—whatever feels most stable. Hold the harness with both hands and open it wide so the two front leg holes are clearly visible and accessible. If you’re using an over-the-head style, you’ll want your dog in a sit or stand position where you can easily slip it on. The key here is making sure your dog doesn’t bolt before you’ve even started—keep one hand ready to gently guide them if needed.

Step 3: Guide Front Legs Into the Openings
This is where most people struggle with proper dog harness fitting. Gently lift your dog’s front leg and guide it into the first opening. Use a treat to lure their cooperation if they’re resistant. Then do the same with the second front leg. Move slowly and calmly—rushing this step often results in twisted straps or a frustrated pup. If your dog pulls away, don’t force it. Go back to treating and calming, then try again. Patience wins every time.
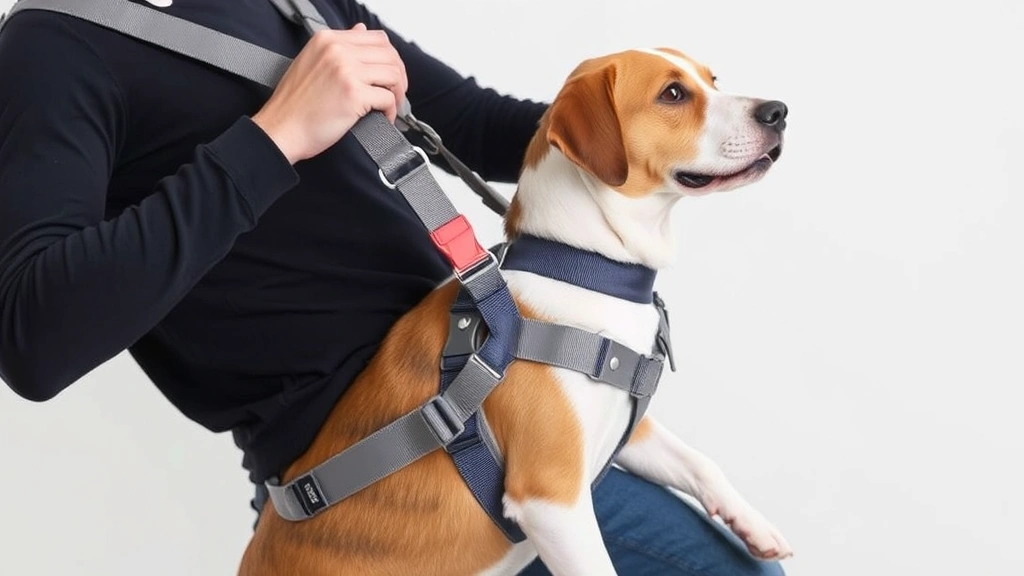
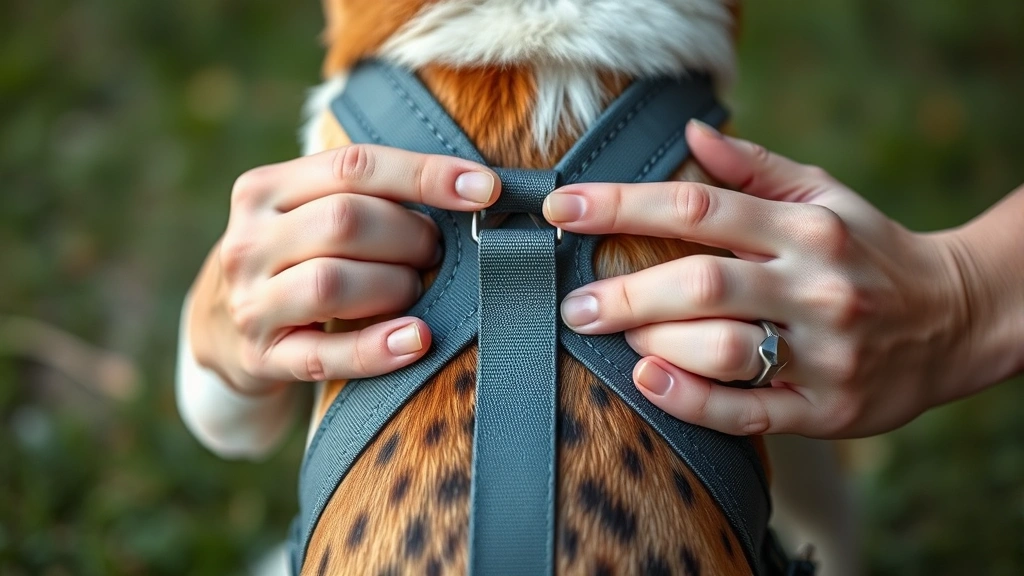
Step 4: Secure the Back and Adjust Straps
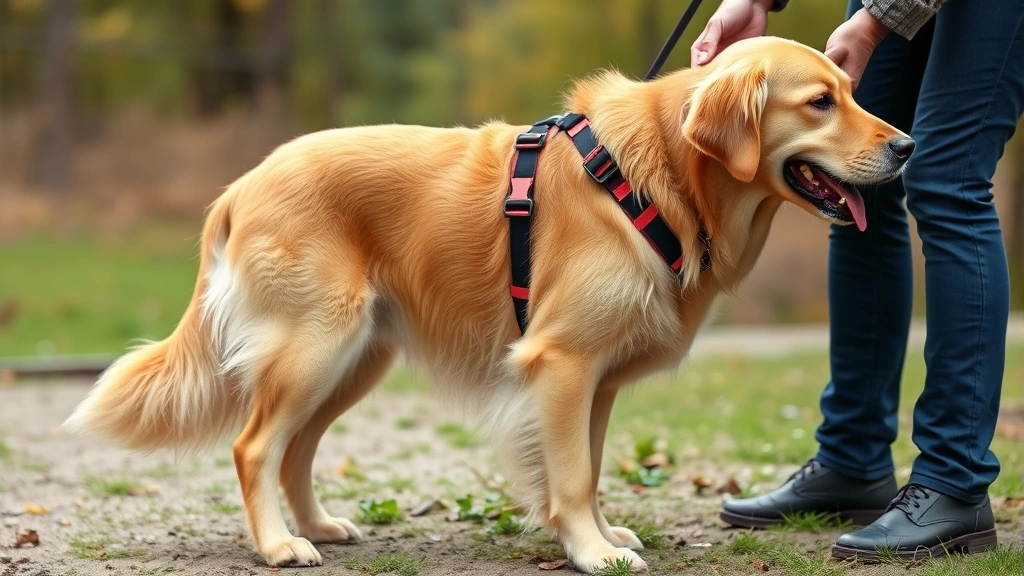
Once both front legs are through, pull the harness up and over your dog’s back. Fasten all clips, buckles, or velcro straps according to your specific harness model. This is crucial: the harness should be snug enough that you can’t slide two fingers under any strap, but loose enough that your dog can breathe and move comfortably. If you’re unsure about harness sizing and adjustment, a virtual vet consultation for diet questions can also help with general pet care concerns.

Step 5: Do the Final Fit Check and Test
Before you head out the door, do a quick safety inspection. Can you fit two fingers under the chest strap? Does the harness sit evenly on both sides? Can your dog move their legs freely without restriction? Take a few steps around your house to make sure everything feels right. If your dog seems uncomfortable, pinched, or restricted, adjust immediately. A proper fitting harness should feel almost invisible to your dog once they’re used to it.
Common Mistakes People Make When Putting On Dog Harnesses
The most frequent error? Putting the harness on too loosely. A loose harness defeats the entire purpose and can slip right off. Another common mistake is twisting the straps—twisted harnesses are uncomfortable and can cause rubbing. People also often put the harness on in a rush, which stresses both themselves and their dog. Take your time, and if your dog keeps wiggling away, that’s feedback that something isn’t right. Maybe they’re uncomfortable, maybe they’re distracted, maybe the harness doesn’t fit properly. Troubleshoot before forcing it.
Training Your Dog to Love Harness Time
Some dogs take to harnesses immediately; others need conditioning. Start by letting your dog wear the harness indoors for short periods while you reward them with treats and praise. Gradually increase the duration. This positive association means that when you reach for the harness, your dog won’t immediately hide under the couch. For anxious dogs or rescue pups, this step can take weeks, and that’s totally okay. According to the American Kennel Club, positive reinforcement is the gold standard for harness training.
Special Considerations for Different Dog Sizes and Breeds
Tiny dogs and large dogs present unique challenges. Small breeds often have delicate frames and can be injured by poorly fitted harnesses, while large dogs can pull with surprising strength. Puppies grow rapidly, so you may need to adjust or replace harnesses frequently. Senior dogs might have arthritis or mobility issues that make stepping into harnesses difficult—an over-the-head style might work better. PetMD recommends consulting your vet if your senior dog struggles with harness fitting. Brachycephalic breeds like Bulldogs and Pugs need extra consideration to ensure the harness doesn’t restrict their already-compromised breathing.

Maintenance and When to Replace Your Harness
A quality harness lasts years, but it needs care. Inspect it regularly for wear, fraying, or damaged clips. Wash it according to manufacturer instructions—most can be hand-washed with mild soap. Check your dog’s skin regularly for irritation or hair loss in areas where the harness contacts fur. If you notice chafing, adjust the fit or try a different style. When your dog grows or your harness becomes damaged beyond repair, it’s time for a replacement. Your local pet store or online retailers can help you find the right size—don’t guess, as improper sizing is a common source of harness problems.
Frequently Asked Questions
How tight should a dog harness be?
A properly fitted harness should be snug enough that you can fit two fingers under any strap, but not so tight that your dog can’t breathe or move comfortably. Check the fit regularly, especially with growing puppies. If your dog seems uncomfortable or restricted, loosen it slightly and recheck.
What if my dog refuses to wear a harness?
Start slow with positive reinforcement. Let your dog wear the harness indoors for just a few minutes while rewarding them with high-value treats. Gradually increase duration over days or weeks. Never force a harness on a panicked dog, as this creates negative associations. If resistance continues, consult your vet or a professional trainer.
Can I leave a harness on my dog all day?
No, harnesses should be removed when your dog is resting or indoors. Leaving a harness on continuously can cause chafing, restrict movement, and create discomfort. Use harnesses specifically for walks and outdoor activities, then remove them when you’re home.
Why does my dog slip out of their harness?
The most common reason is improper fit—the harness is too loose. Double-check that all straps are snug and fastened correctly. If your dog is particularly escape-artist-like, consider a no-pull harness with a front clip, which makes it harder to wriggle free. Some dogs are also just Houdini-level escape artists, so you might need to try a different harness style.
Is a harness better than a collar?
For most dogs, yes. Harnesses distribute pressure more evenly and don’t put strain on the neck and trachea like collars do. They’re especially recommended for puppies, senior dogs, small breeds, and dogs prone to pulling. However, some dogs do fine with collars—consult your vet about what’s best for your specific pup. Resources like Cornell’s College of Veterinary Medicine offer detailed guidance on proper restraint equipment.

Final Thoughts: You’ve Got This
Learning how to put on harness dog correctly is one of those skills that feels complicated until suddenly it isn’t. After a few successful attempts, you’ll be fastening that harness faster than your dog can say “walk.” Remember that every dog is different—what works perfectly for your neighbor’s Labrador might not work for your anxious Chihuahua, and that’s okay. Be patient with your pup, stay calm, and celebrate small victories. Before you know it, harness time will be just another part of your routine, and your walks will be safer, more comfortable, and infinitely more enjoyable for both of you. Your dog will thank you for taking the time to get it right.
If you’re interested in overall pet wellness, check out our guides on puppy safe human foods and pet dietary restrictions to ensure your dog is getting the best care from the inside out. For senior dogs, we also have resources on senior pet friendly human foods to keep them healthy and happy in their golden years.