You’ve scrolled past someone’s adorable dog sketch on social media and thought, “I could never do that.” But here’s the truth: dog drawing easy is absolutely achievable, even if you’ve never held a pencil for art before. Whether you’re sketching your own pup or creating a gift for a dog-loving friend, learning to draw dogs doesn’t require years of training or natural talent. It requires the right approach, simple techniques, and a little patience.
I’ve worked with countless dog owners who wanted to capture their pet’s personality on paper, and I’ve seen total beginners create stunning portraits. The secret? Breaking it down into manageable shapes and understanding proportions. By the end of this guide, you’ll have concrete steps to draw everything from a realistic Labrador to a cute cartoon pup.
Why Dog Drawing Easy Starts With Basic Shapes
Here’s what separates people who can draw from people who think they can’t: the ability to see complex things as simple shapes. Your dog isn’t a dog yet—it’s a circle, a few ovals, and some lines waiting to be assembled.
Think of it like building with blocks. A dog’s head is roughly a circle or oval. The muzzle? Another smaller oval attached below. The ears are triangles or half-circles. The body is a large oval or rectangle. The legs are cylinders. Once you stop trying to draw “a dog” and start drawing “a circle with two triangles on top,” everything becomes manageable.
This approach is called constructive drawing, and it’s the foundation of dog drawing easy. Professional artists use this method constantly—they just do it so quickly you don’t notice. Your job is to slow down and make it visible.
Pro Tip: Start every dog drawing by lightly sketching the basic shapes in pencil. Don’t commit to dark lines yet. These construction lines are your blueprint. You’ll erase them later, but they keep your proportions accurate and your confidence high.
The reason this works is neurological. Your brain finds it easier to connect simple geometric shapes than to spontaneously generate a realistic dog. You’re not relying on memory or talent—you’re using a system. And systems are learnable.
Essential Supplies You Actually Need
Before we dive into technique, let’s talk gear. The good news: you don’t need much. I’ve seen incredible dog drawings made with a single pencil and printer paper.
- Pencils: A standard #2 (HB) pencil is perfect to start. If you want to get slightly fancier, grab a set with HB, 2B, and 4B. The B grades are softer and darker, great for shading.
- Paper: Regular copy paper works fine for practice. For finished pieces, grab some sketch paper or mixed-media paper (around 90-110 lb weight). It’s smoother and holds graphite better.
- Eraser: A kneaded eraser is your secret weapon. It’s moldable, doesn’t damage paper, and is perfect for lifting out highlights. A regular eraser works too, but kneaded erasers are worth the $2.
- Blending tools: A blending stump (or tortillon) helps smooth pencil marks for shading. Honestly? Your finger works fine too. Some artists use tissues or cotton swabs.
- Ruler: Optional, but helpful for proportional guidelines, especially when starting out.
- Reference image: This is non-negotiable. Pull up a photo of the dog you want to draw. The more detail in the reference photo, the better.
That’s it. You don’t need expensive colored pencils, fancy tablets, or a light box. Those are nice-to-haves, not must-haves. The best tool for dog drawing easy is the one you’ll actually use.
Proportions: The Foundation of Dog Drawing Easy
Proportions are where most beginner dog drawings go sideways. A dog’s head looks “off” not because you can’t draw, but because the eyes are too far apart, or the snout is too long, or the ears are in the wrong spot.
Here’s a practical framework: Imagine a dog’s face divided into thirds vertically. The top third is the space above the eyes. The middle third contains the eyes and upper muzzle. The bottom third is the lower jaw and chin. This isn’t universal—different breeds have different proportions—but it’s a solid starting point.
For eye placement specifically: most dogs’ eyes are roughly 1/3 to 1/2 of the way down the head, and they’re typically separated by about one eye-width of space. Too close together and your dog looks crossed-eyed. Too far apart and it looks alien.
The muzzle length varies wildly by breed. A Pug has almost no muzzle, while a Greyhound has a long, narrow one. This is where your reference photo becomes essential. If you’re drawing a specific breed, study how that breed’s proportions differ from the average.
Safety Warning: Avoid the temptation to “wing it” after the first few drawings. Even experienced artists use reference photos. Using references isn’t cheating—it’s professional practice. Check out the AKC’s breed standards if you want accurate proportions for specific breeds.
A practical exercise: Print out a dog photo and lightly sketch a grid over it (1-inch squares work well). Then draw a matching grid on your paper, scaled to your desired drawing size. Copy the image square by square. This grid method removes the guesswork and trains your eye to see proportions accurately. After a few grid drawings, your eye will internalize the proportions and you won’t need the grid anymore.
Step-by-Step Guide to Drawing a Simple Dog Face
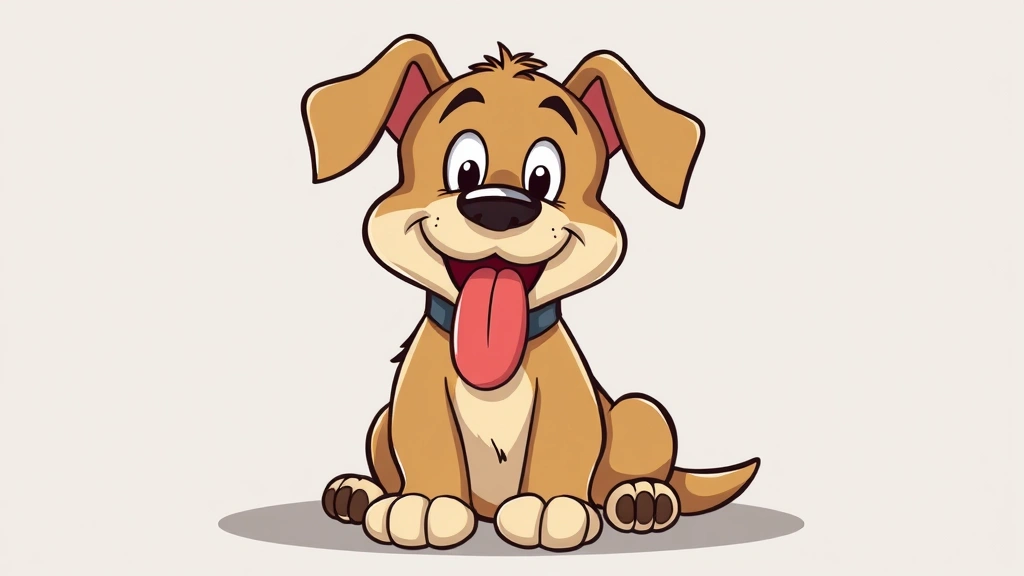
Let’s walk through a concrete example. This is the easiest version of dog drawing easy—a friendly, slightly cartoonish dog face that looks great even if your lines aren’t perfect.
Step 1: Draw the head shape. Start with a circle or oval. Don’t overthink this. It doesn’t have to be perfect. This is your construction line—it’ll guide everything else.
Step 2: Add the muzzle. Below the circle, draw a smaller oval or rectangle. This is where the nose and mouth will go. The size of this muzzle depends on your breed. For a Bulldog, it’s huge and bulbous. For a Collie, it’s long and narrow.
Step 3: Sketch the ears. Two triangles or half-circles on top of the head, positioned toward the back. Floppy ears hang down; pointy ears stand up. The angle and position of ears dramatically change a dog’s expression.
Step 4: Place the eyes. Two small circles in the upper-middle area of the head, with about one eye-width between them. These should be slightly above the horizontal center line of the head. Don’t fill them in yet—just light circles.
Step 5: Add the nose. A small circle, oval, or triangle in the center of the muzzle. Most dogs have a dark, wet nose, so this will be one of your darkest elements.
Step 6: Sketch the mouth. A simple curved line below the nose, like a smile. You can add a vertical line down the center if you want more definition.
Step 7: Refine the outline. Now that you have all the pieces, trace over your construction lines with darker, more confident strokes. Erase the light construction lines underneath.
Step 8: Add shading. This is where your dog comes alive. Use a softer pencil (2B or 4B) to shade the eyes, nose, and areas that would naturally be darker (under the chin, inside the ears, shadows on the muzzle). Leave the lightest areas white or very light gray.
Step 9: Refine details. Add a small white dot or highlight in each eye to make them look wet and alive. Add texture to the fur with light, directional pencil strokes. Darken the nose and mouth.
This entire process takes 15-30 minutes for a beginner. The more you do it, the faster you’ll work. And here’s the thing: your first attempt might not be gallery-worthy, but it’ll be recognizable as a dog. That’s success. Do it five more times and you’ll be shocked at how much better you get.
Full Body Dog Drawings for Beginners
Once you’re comfortable with faces, full-body drawings are the next level. The good news: the same shape-based approach works beautifully.
Start with the body as a large oval or rectangle. Attach a smaller oval for the chest if you want more anatomical accuracy. The head sits on top, connected by a neck (which is often just a curved line connecting the two shapes).
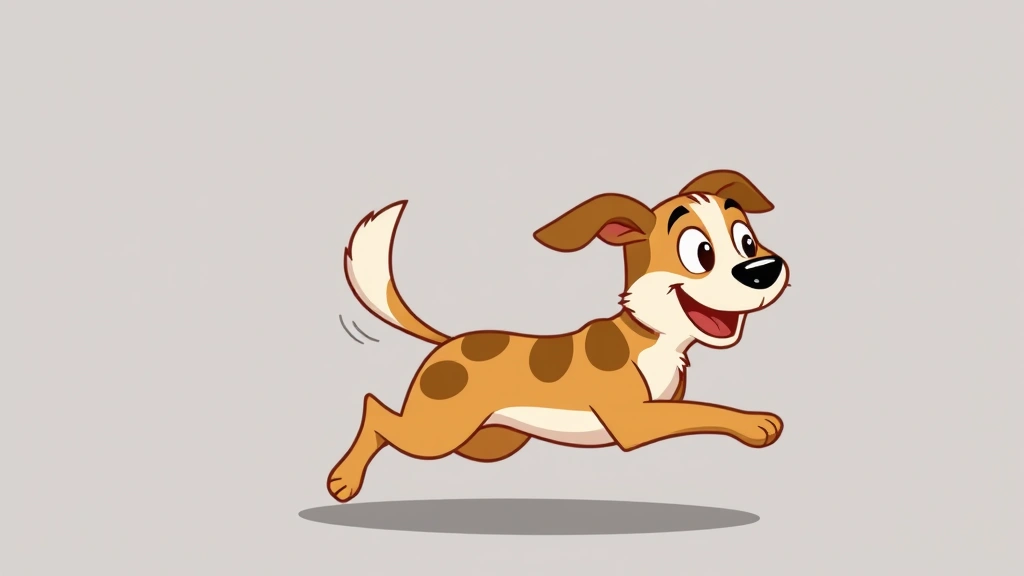
For the legs, think of them as cylinders or rectangles. Most dogs have four legs, positioned under the body. Front legs are typically straighter; back legs often have a slight bend. The angle of the legs affects the dog’s pose dramatically. Legs straight down = standing still. Front legs bent, back legs extended = running. One leg lifted = walking or scratching.
The tail is just a curved line or tapered shape extending from the rear. Tail position conveys emotion: high and curved = happy, tucked under = scared or submissive, straight out = alert.
Here’s a practical sequence for a full-body dog:
- Sketch the body as one large oval
- Add a smaller oval or circle for the head
- Connect them with a neck line
- Add four leg lines (cylinders or rectangles)
- Sketch the tail as a curved line
- Add ears and basic facial features
- Refine the outline, erasing construction lines
- Add shading and texture
The entire process is still based on simple shapes. You’re not drawing a dog—you’re drawing circles, ovals, and lines that happen to look like a dog. This mental shift is everything.
Adding Details and Personality
A technically correct dog drawing can still feel lifeless. Personality comes from details and subtle choices.
Eyes are the window: The eyes carry most of the emotional weight. A dog with pupils looking slightly to the side seems curious. Pupils looking straight ahead seem alert or focused. Slightly droopy eyes suggest tiredness or sadness. A bright highlight in the eye makes it look wet and alive. This single element—a small white dot—transforms a drawing.
Fur texture: Don’t try to draw every individual hair. Instead, use directional pencil strokes that follow the direction hair grows. Short, light strokes suggest short fur. Longer, flowing strokes suggest long fur. Vary the pressure and direction slightly to avoid a plastic, uniform look. Real fur has movement and variation.
Ears: The inside of ears often has different texture or color than the outside. Adding a slightly darker tone inside the ear makes it look three-dimensional. For floppy ears, a subtle shadow under the fold adds depth.
Nose and mouth: These should be among your darkest values. A wet nose has a subtle highlight. A mouth is usually just a simple line, but you can add a tiny bit of pink or lighter tone to suggest the tongue or inner mouth.
Whiskers: A few light, wispy lines extending from the muzzle suggest whiskers without overdoing it. They should be subtle, not prominent. If you’re curious about the actual anatomy, PetMD has a great breakdown of dog whiskers and their sensory function.
Background: You don’t need a detailed background. Even a subtle shadow or simple shading around the dog makes it pop off the page. The dog should be the clear focal point.
Common Mistakes and How to Fix Them
I’ve seen the same mistakes repeatedly in beginner dog drawings. Here’s how to avoid them:
Mistake 1: Eyes too close together or too far apart. This is the #1 issue. Solution: Use your reference photo and measure. If the dog’s eyes are roughly one eye-width apart in the photo, they should be in your drawing too. It’s that simple.
Mistake 2: Head too small relative to the body. Beginner artists often draw tiny heads on huge bodies. Dogs’ heads are actually pretty substantial. A rough rule: the head should be about 1/3 to 1/2 the length of the body. Check your proportions against your reference.
Mistake 3: Legs that look like sticks. Legs need some volume. They’re not just lines—they’re cylinders with thickness. Even a simple oval shape for each leg looks better than a single line.
Mistake 4: Shading that’s too uniform or too dark. Dogs have variation in their tone. Some areas are darker (shadows, the nose, eyes), some are mid-tone, some are light. If your entire drawing is the same gray, it looks flat. Push your darks darker and keep your lights lighter.
Mistake 5: Ignoring the reference photo. This is the biggest one. Beginners often try to draw from memory, which leads to generic-looking dogs. Every dog is unique. Use your reference photo constantly. Look at it more than your paper.
Mistake 6: Overworking the drawing. Sometimes less is more. A light, confident sketch often looks better than a heavily worked, dark drawing. Know when to stop. If you’re not sure, step back and look at it from across the room.
Practicing Specific Breeds
Once you’ve nailed the basic dog shape, breed-specific drawing is just about understanding breed proportions. Different breeds have dramatically different silhouettes.
Dachshunds: Long, low body. Short legs. Long ears. The body is maybe 3-4 times as long as it is tall. This elongated proportion is the key characteristic.
Bulldogs: Compact, muscular body. Huge, flat face. Short muzzle. Wide stance. The head is almost as wide as it is long.
Golden Retrievers: Medium-length muzzle. Floppy ears. Longer body than tall. Feathered fur (longer hair, especially on the ears, chest, and tail).
German Shepherds: Long muzzle. Pointed ears. Larger head relative to body. Sloped back (rear end lower than shoulders). Lean, athletic build.
Pugs: Tiny, compact body. Huge head relative to body. Flat, wrinkled face. Curled tail. The head is almost as large as the entire body.
The American Kennel Club has official breed standards with detailed descriptions and illustrations. These are goldmines for understanding breed-specific proportions. Spend 10 minutes studying a breed standard before drawing that breed, and your accuracy will jump dramatically.
A practical exercise: Find photos of five different breeds and do quick 10-minute sketches of each. Don’t worry about details—just focus on capturing the silhouette and proportions. You’ll start to internalize what makes each breed unique.
Frequently Asked Questions
Do I need to be naturally talented to learn dog drawing easy?
– No. Drawing is a skill, not a talent. Talent might help you improve slightly faster, but consistent practice beats talent every time. I’ve taught people who swore they “couldn’t draw” to create impressive dog portraits in a few weeks. The difference? They practiced. That’s it.
How long does it take to get good at drawing dogs?
– It depends on your definition of “good.” A recognizable, decent-looking dog? 5-10 drawings. A solid, realistic portrait? 50-100 drawings. A truly impressive, gallery-quality piece? Hundreds. But here’s the thing: you’ll be proud of your work way sooner than you think. Your 5th drawing will be noticeably better than your 1st.
Should I use a reference photo or draw from memory?
– Always use a reference photo, especially when starting out. Drawing from memory leads to generic, inaccurate dogs. Professional artists use references constantly. It’s not cheating—it’s how art is actually made. Once you’ve drawn a specific dog many times, you might be able to do it from memory, but even then, a reference keeps you honest.
What’s the best way to practice dog drawing easy?
– Draw the same dog multiple times. Pick one reference photo and draw it 5-10 times. Each time, you’ll notice details you missed before. Your hand will get steadier. Your proportions will improve. This focused repetition is way better than drawing 10 different dogs once.
Can I draw dogs digitally instead of with pencil and paper?
– Absolutely. The principles are identical. A digital stylus and tablet work the same way as pencil and paper. Some people find digital easier because you can undo mistakes instantly. The learning curve is the same either way. Pick the medium you’ll actually use.
How do I draw a dog that looks like my specific dog?
– Take a clear photo of your dog in good lighting. Study the unique features: ear shape, muzzle length, fur texture, eye color and shape, any distinctive markings. These specifics are what make your dog look like your dog, not a generic dog. Spend extra time on these details. The more specific you are, the more recognizable your drawing will be.
What if my dog drawing doesn’t look right?
– Step back and look at it from across the room. Often, small details that look wrong up close look fine from a distance. If something genuinely looks off, compare it directly to your reference photo. Measure proportions. Are the eyes in the right spot? Is the muzzle the right length? Is the head the right size relative to the body? Usually, one proportion is off, and fixing that one thing fixes everything.
Should I shade with pencil or use charcoal or other materials?
– Pencil is perfect for learning. Charcoal is messier but gives darker, richer tones. Colored pencils are great if you want to add color. For dog drawing easy, stick with regular graphite pencils (HB, 2B, 4B). Once you’re comfortable, experiment with other materials. But the fundamentals are the same regardless of medium.
Final Thoughts
Dog drawing easy is a skill you can absolutely develop. You don’t need talent, expensive supplies, or years of training. You need a reference photo, basic pencils, and a willingness to practice. Start with simple shapes. Focus on proportions. Use your reference constantly. Do it again. And again. After 10-20 drawings, you’ll look back at your first attempt and be amazed at how far you’ve come.
The best part? Drawing your own dog is deeply satisfying. There’s something special about capturing your pet’s personality on paper. Whether you’re sketching your beloved companion or exploring why dogs make wonderful subjects for art, the process itself is rewarding. And if you’re interested in understanding dog behavior and anatomy better, resources like the ASPCA’s dog care guide can deepen your knowledge and improve your drawings.
Start today. Grab a pencil, pull up a dog photo, and draw some circles. You’ve got this.