If your pup keeps scratching their ears like they’re auditioning for a heavy metal band, you might be dealing with a dog yeast infection ear problem. Yeast infections in dog ears are incredibly common, annoying, and honestly, kind of gross—but the good news? They’re totally treatable. Let’s dive into what causes them, how to spot the signs, and most importantly, how to get your furry friend relief faster than you can say “ear mites.”
Table of Contents
- What Causes Yeast Infections in Dog Ears?
- Recognizing the Signs of Canine Ear Yeast Infections
- Method 1: Veterinary Antifungal Treatments
- Method 2: Thorough Ear Cleaning Protocol
- Method 3: Apple Cider Vinegar and Coconut Oil Solution
- Method 4: Dietary Changes and Immune Support
- Method 5: Preventing Moisture and Improving Ear Hygiene
- When to Seek Professional Help
- The Role of Telehealth in Ear Infection Management
- Timeline: How Long Does Treatment Take?
- Summary: Your Action Plan for Yeast-Free Ears
- Frequently Asked Questions
What Causes Yeast Infections in Dog Ears?
Before we talk solutions, let’s understand the enemy. Yeast naturally lives on your dog’s skin and in their ears—it’s part of the normal flora. But when conditions are right (or wrong, depending on how you look at it), yeast throws a party and multiplies like crazy.
Common culprits include:
- Moisture: Dogs with floppy ears or those who love swimming create the perfect humid environment for yeast to thrive
- Allergies: Food allergies and environmental allergies weaken the ear’s natural defenses
- Weak immune system: Stress, poor nutrition, or underlying health issues can make your dog susceptible
- Antibiotics: Ironically, medications that kill bacteria also kill the good bacteria that keep yeast in check
- Poor ear hygiene: Dirty ears are a yeast nightclub
Recognizing the Signs of Canine Ear Yeast Infections
Your dog can’t tell you their ears are itchy (well, they try), but they’ll definitely show you. Watch for these telltale signs:
- Excessive scratching, head shaking, or tilting their head to one side
- A dark, waxy discharge that smells like corn chips or wet dog on steroids
- Redness, swelling, or inflammation inside the ear canal
- Crusty or flaky skin around the ear area
- Hair loss around the ears from constant scratching
- Behavioral changes like irritability or difficulty sleeping
If you notice these symptoms, it’s time to act. The longer you wait, the worse it gets—and trust us, a severe yeast infection is no joke.
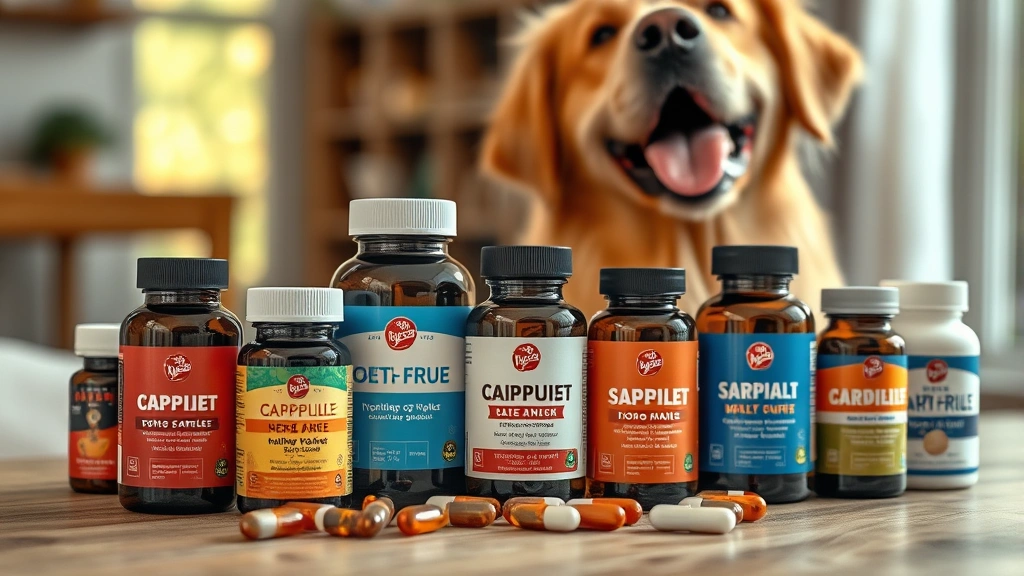
Method 1: Veterinary Antifungal Treatments
Your vet isn’t just there to give your dog treats and belly rubs (though that’s definitely part of the job). For stubborn or severe cases of candida in dogs ear, prescription antifungal medications are your best bet.
Your vet might prescribe:
- Miconazole or ketoconazole ear drops: These directly target yeast and work fast
- Terbinafine: A powerful antifungal that penetrates the ear canal
- Oral antifungals: For infections that have spread or keep recurring
Pro tip: Always complete the full course, even if your dog’s ears look better after a week. Stopping early is how you get a yeast infection comeback tour.
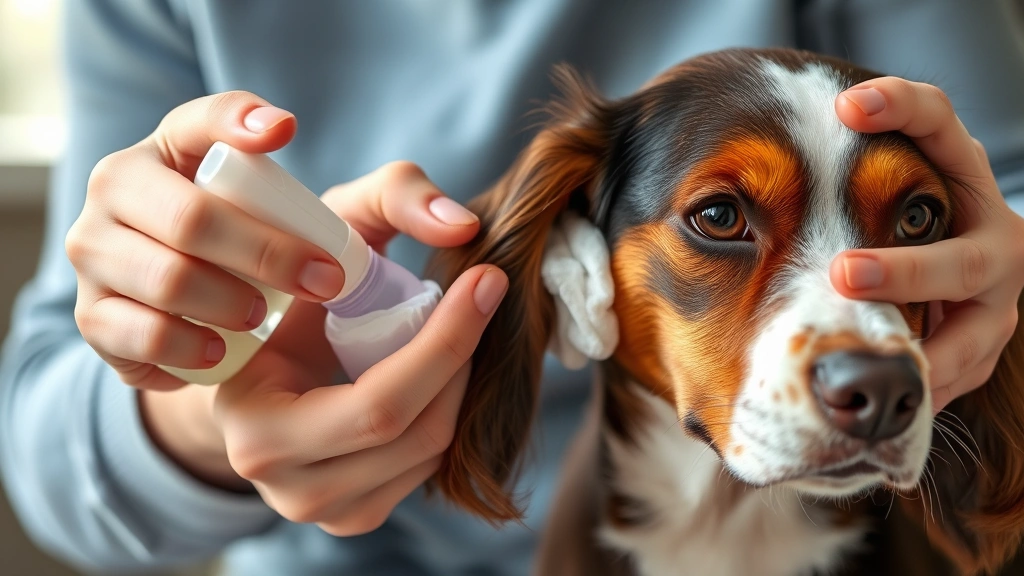
Method 2: Thorough Ear Cleaning Protocol
Here’s the thing—you can throw all the medication at an ear, but if it’s gunked up with debris, the medicine can’t do its job. Think of it like trying to paint a dirty wall.
The proper ear cleaning process:
- Gather supplies: Vet-approved ear cleaning solution, cotton balls (not Q-tips—seriously, don’t use them), and treats for bribery
- Flush the ear: Fill the ear canal with the cleaning solution, massage gently for 30 seconds, then let your dog shake it out
- Wipe thoroughly: Use cotton balls to remove all the gross stuff
- Dry completely: Moisture is yeast’s best friend, so dry those ears like you’re prepping for a dog show
- Repeat 2-3 times weekly: Until the infection clears
Your vet will show you the proper technique—don’t just wing it and accidentally damage the ear canal. That’s a bad time for everyone involved.
Method 3: Apple Cider Vinegar and Coconut Oil Solution
Before you get excited about natural remedies, know this: they work best for mild infections or as preventative maintenance, not as replacements for veterinary care. That said, many dog owners swear by the apple cider vinegar approach.
The DIY ear rinse:
- Mix equal parts apple cider vinegar and water (or coconut oil and apple cider vinegar)
- Apply with a dropper, massage the ear, let your dog shake
- Wipe clean with cotton balls
- Use 2-3 times weekly
Why it works: Apple cider vinegar creates an acidic environment that yeast hates. Coconut oil has natural antifungal properties. Together, they’re like a one-two punch for mild yeast issues. However, if your dog’s ear is already inflamed, skip the vinegar—it’ll sting like crazy and make your pup hate you.
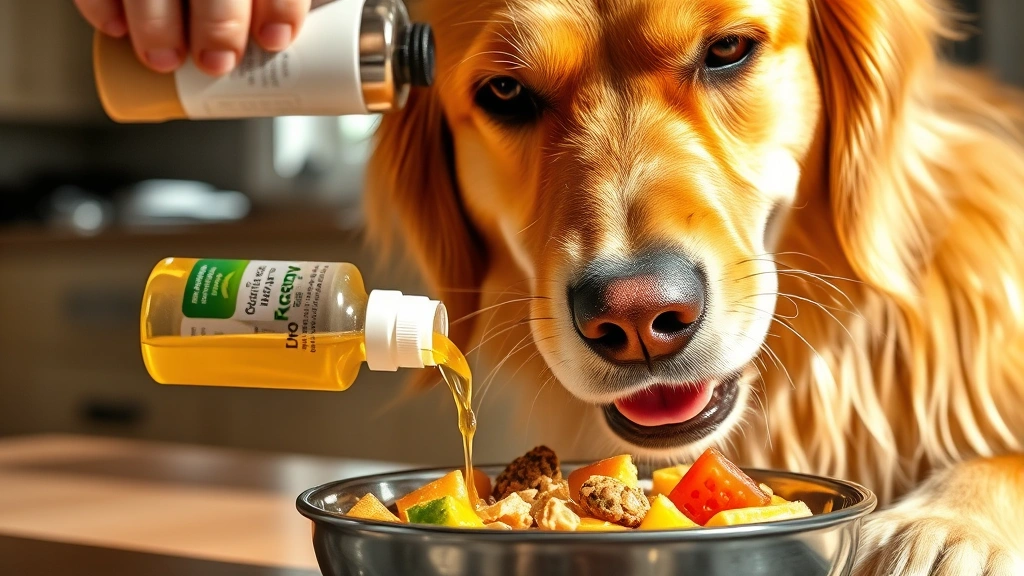
Method 4: Dietary Changes and Immune Support
This is the unsexy but crucial part: what goes in your dog’s mouth affects what happens in their ears. Many yeast infections are rooted in food allergies or poor gut health.
Consider these dietary adjustments:
- Eliminate common allergens: Corn, wheat, soy, and chicken are frequent culprits
- Add omega-3 fatty acids: Fish oil supports skin and ear health
- Probiotics: Restore healthy gut bacteria that keep yeast in check
- Limited ingredient diet: Sometimes simpler is better
Check out our guide on human foods for pets with sensitive stomachs and canned pumpkin for dogs for more nutritional support options. Pumpkin especially is a gut health superstar.
Method 5: Preventing Moisture and Improving Ear Hygiene
An ounce of prevention is worth a pound of ear drops. Once your dog’s infection clears, keep it that way by managing moisture and maintaining good ear hygiene.
Prevention strategies:
- Dry ears after bathing or swimming: Use a towel or hair dryer on low heat
- Keep hair trimmed: Especially for breeds with hair in their ear canals
- Weekly ear checks: Catch problems early
- Use preventative ear powder: For dogs prone to moisture buildup
- Avoid excessive ear cleaning: Too much disrupts the natural flora
For dogs with chronic issues, ask your vet about candida in dogs ear prevention strategies tailored to your pup’s specific situation.
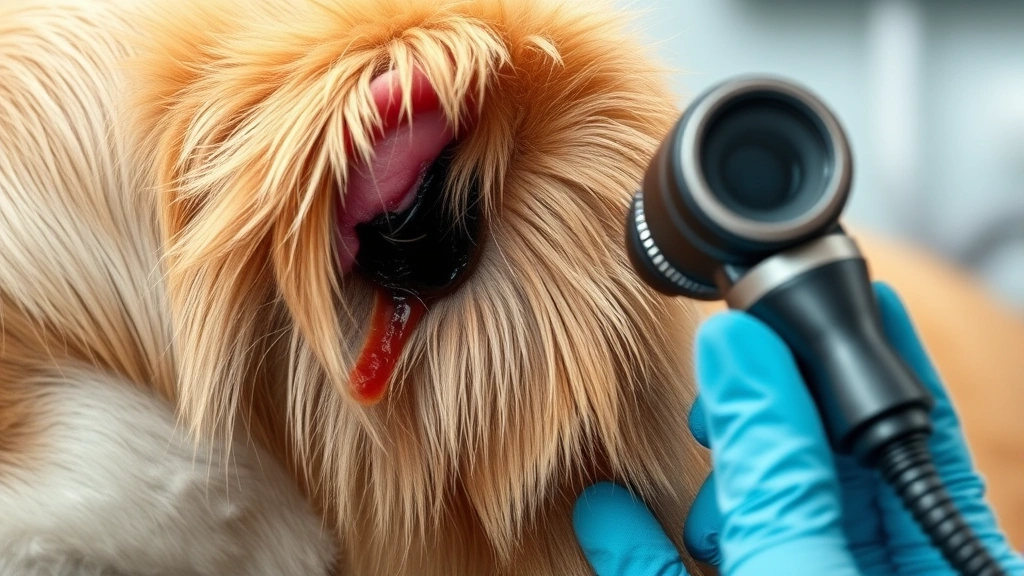
When to Seek Professional Help
Listen, we love DIY solutions as much as the next person, but some situations need a vet’s expertise. Schedule an appointment if:
- Your dog’s symptoms don’t improve after 2 weeks of treatment
- The ear smells worse or looks more inflamed
- Your dog has a fever or seems lethargic
- The infection keeps coming back (this suggests an underlying allergy or immune issue)
- You’re unsure about the diagnosis
Your vet can perform an ear cytology (basically a microscopic examination) to confirm yeast and rule out other issues like ear mites or bacterial infections. Can you use antibiotic ointment on dogs is a question many owners ask—the answer depends on what’s actually causing the infection, which is why professional diagnosis matters.
The Role of Telehealth in Ear Infection Management
Can’t get to the vet right away? Pet telehealth services can help you get a preliminary assessment, discuss symptoms, and determine if you need an in-person visit. It’s not a replacement for physical exams, but it’s great for quick consultations and follow-ups.

Timeline: How Long Does Treatment Take?
Patience, grasshopper. Most mild to moderate yeast infections start improving within 3-5 days of treatment, but complete resolution typically takes 2-4 weeks. Severe or chronic infections might take longer.
Here’s what to expect:
- Days 1-3: Reduced scratching, less discharge
- Week 1-2: Visible improvement in redness and smell
- Week 3-4: Complete healing (if you stick with the treatment plan)
Summary: Your Action Plan for Yeast-Free Ears
Got a dog with a yeast infection ear problem? Here’s your roadmap to recovery:
- Schedule a vet visit to confirm diagnosis
- Get prescription antifungal treatment if recommended
- Establish a thorough ear cleaning routine
- Consider dietary changes to address underlying allergies
- Implement prevention strategies to avoid recurrence
- Monitor progress and adjust treatment as needed
Remember, consistency is key. Treating a yeast infection isn’t complicated, but it does require commitment. Your reward? A happy, itch-free pup who stops looking like they’re auditioning for a rock concert every time you mention the word “ear.”
Frequently Asked Questions
How do I know if my dog has a yeast infection or ear mites?
Yeast infections typically produce a dark, waxy discharge that smells like corn chips. Ear mites cause a crusty, dark discharge with more of a musty smell. Your vet can do a quick microscopic check to determine which one you’re dealing with. Don’t guess—wrong treatment makes things worse.
Can I use human antifungal cream on my dog’s ears?
Not without veterinary approval. Many human products contain ingredients that are toxic to dogs or can cause severe irritation in the delicate ear canal. Always use products specifically formulated for dogs or prescribed by your vet.
Why does my dog keep getting yeast infections?
Chronic yeast infections usually point to an underlying issue: food allergies, environmental allergies, poor immune function, or excessive moisture exposure. Address the root cause or you’ll be treating infections forever. Your vet can help identify what’s really going on.
Is a yeast infection in a dog’s ear contagious to humans?
Nope! Dog yeast is dog yeast. You won’t catch it. However, if your dog has a yeast infection, wash your hands after handling their ears to avoid spreading it to other pets.
How much does treating a dog yeast infection cost?
A vet visit runs $100-300, and medications typically cost $20-50 per bottle. DIY treatments are cheaper but less effective for severe infections. Invest in the proper treatment now, or pay for multiple vet visits later—your choice.