Making high-value treats from kitchen ingredients is honestly one of the best-kept secrets in pet training and enrichment. Why drop $15 on a tiny bag of premium treats when you’ve already got the good stuff sitting in your pantry? Your dog or cat will go absolutely bonkers for homemade goodies, and you’ll know exactly what’s going into their mouth—no mystery meat by-products or sketchy additives.
Table of Contents
- Why Homemade Treats Beat Store-Bought Every Single Time
- The Best Kitchen Ingredients for High-Value Pet Treats
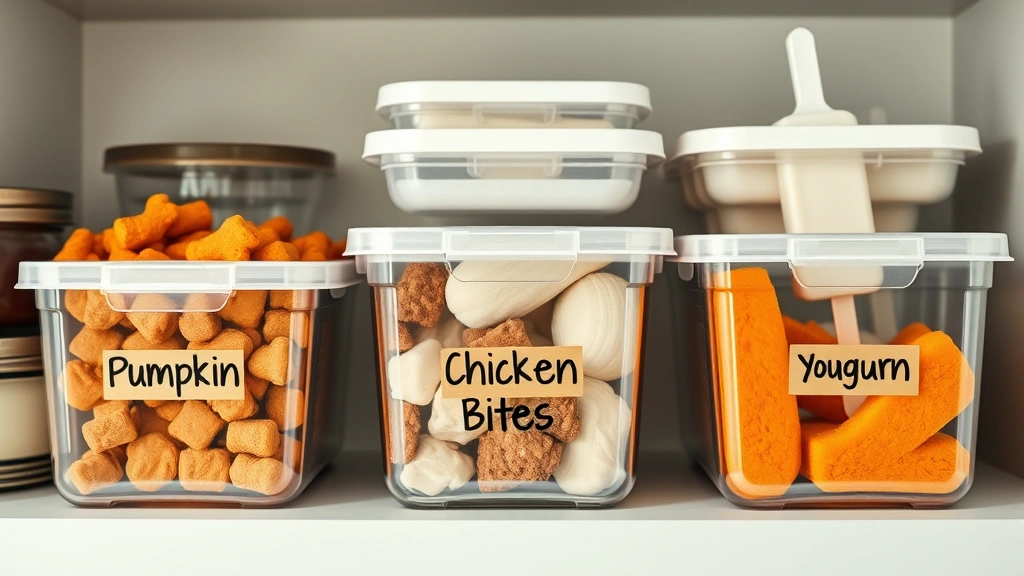
- Recipe #1: Peanut Butter Chicken Bites (The Gold Standard)
- Recipe #2: Sweet Potato and Turkey Training Nuggets
- Recipe #3: Frozen Yogurt and Blueberry Popsicles
- Recipe #4: Carrot and Apple Crunch Bites
- Recipe #5: Beef Liver Powder Surprise Treats
- Recipe #6: Pumpkin Oat Cookies (The Crowd Pleaser)
- Recipe #7: Cottage Cheese and Banana Soft Bites
- Recipe #8: Tuna and Sweet Potato Flakes (For Cats)
- Recipe #9: Beef Broth Popsicles (The Hydration Hack)
- Recipe #10: Egg and Spinach Power Bites
- Storage and Safety Tips for Homemade Treats
- Making Treats Truly High-Value for Training
- Customizing Recipes for Your Pet’s Needs
- Frequently Asked Questions
- Conclusion: Treat-Making Is Actually Easy
The beauty of DIY pet treats is that they’re cheaper, fresher, and way more impressive to your furry friend than store-bought options. Plus, there’s something genuinely satisfying about watching your pet lose their mind over something you made yourself. Let’s dive into the recipes and strategies that’ll make you the treat MVP of your household.
Why Homemade Treats Beat Store-Bought Every Single Time
Here’s the thing: commercial treats are designed to sit on shelves for months. That means preservatives, fillers, and ingredients you can’t pronounce. When you make homemade pet treats using basic kitchen ingredients, you’re working with whole foods that your pet’s body actually recognizes.
Homemade treats also become incredibly valuable training tools. Dogs especially respond better to rewards they genuinely love, and when you’re making them fresh, you can adjust the recipes based on what YOUR specific pet goes crazy for. Some dogs lose their minds over peanut butter, others prefer chicken. You get to customize.
Plus, there’s the cost factor. A single chicken breast can yield dozens of training treats. A handful of oats and an egg can make a batch that lasts weeks. Compare that to premium store-bought options, and you’re looking at savings that actually add up.
The Best Kitchen Ingredients for High-Value Pet Treats
Before we get into specific recipes, let’s talk about the MVP ingredients that make treats truly high-value in your pet’s eyes.
Protein sources: Chicken, turkey, beef, eggs, and cottage cheese are absolute gold. These are what make treats worth your pet’s attention during training sessions.
Flavor boosters: Peanut butter (xylitol-free!), pumpkin puree, sweet potato, and plain yogurt add flavor and nutrition without the junk.
Binders: Oats, whole wheat flour, and eggs help hold everything together. These also add fiber and nutrients.
Healthy additions: Carrots, apples, blueberries, and green beans add vitamins and keep treats interesting.
The key is knowing what’s safe. Avoid chocolate, grapes, raisins, onions, garlic, avocado, and anything with xylitol. Everything else is basically fair game.
Recipe #1: Peanut Butter Chicken Bites (The Gold Standard)
This is the recipe that’ll make your dog think you’re basically a professional chef. It’s simple, it’s effective, and it’s the kind of treat that makes dogs abandon all dignity in pursuit of one tiny piece.
Ingredients:
- 1 cup cooked, shredded chicken breast
- 1/2 cup natural peanut butter (no xylitol)
- 1 cup oats
- 1 egg
Instructions: Mix everything together, form into small balls, and bake at 350°F for 12-15 minutes. Let them cool completely before storing in the fridge. These freeze beautifully too.
Why it works: You’ve got protein from the chicken and peanut butter, texture from the oats, and a smell that’ll have your dog following you around the kitchen. This is the treat you use when you need serious compliance during training.
Recipe #2: Sweet Potato and Turkey Training Nuggets
If your dog is obsessed with poultry, this is your go-to recipe. Sweet potatoes add natural sweetness and are packed with beta-carotene, making these treats as nutritious as they are delicious.
Ingredients:
- 1 pound ground turkey
- 1 cup mashed sweet potato
- 1/2 cup whole wheat flour
- 2 eggs
Instructions: Mix all ingredients, press into a parchment-lined baking sheet, and bake at 375°F for 20 minutes. Cut into small squares while still warm. Store in the fridge for up to a week.
These are perfect for interactive feeding games because they’re substantial enough to hold together but soft enough for quick training sessions. Your dog won’t get tired of chewing while you’re trying to work on commands.
Recipe #3: Frozen Yogurt and Blueberry Popsicles
During hot weather, these frozen treats are absolute game-changers. They’re refreshing, they slow down eating (which is great for digestion), and blueberries are basically nature’s superfood for dogs.
Ingredients:
- 1 cup plain Greek yogurt
- 1/2 cup blueberries
- 1 tablespoon honey
- 1/4 cup water
Instructions: Blend everything together, pour into ice cube trays or popsicle molds, and freeze for 4-6 hours. Pop them out and serve. Store in the freezer for up to 3 months.
Pro tip: These are excellent for dogs dealing with food aggressive behaviors because the frozen format naturally slows consumption and reduces competition intensity.
Recipe #4: Carrot and Apple Crunch Bites
Sometimes you need treats that are naturally low-calorie but still high-value. This recipe is perfect for weight management while keeping your dog mentally stimulated.
Ingredients:
- 2 cups grated carrots
- 1 cup grated apple (remove seeds)
- 1 cup oats
- 2 eggs
- 1/4 cup coconut oil
Instructions: Mix ingredients, form into small balls, and bake at 325°F for 18-20 minutes. These are crunchier than other recipes, which dogs absolutely love.
The crunch factor makes these perfect for enrichment activities and natural dental cleaning. Plus, carrots are basically free dental floss.
Recipe #5: Beef Liver Powder Surprise Treats
Beef liver is the nuclear option of dog treats. The smell is absolutely revolting to humans, which means dogs find it absolutely irresistible. It’s also packed with iron and B vitamins.
Ingredients:
- 1 pound beef liver
- 1 egg
- 1/2 cup whole wheat flour
Instructions: Blend the raw liver until smooth, mix with egg and flour, pipe onto baking sheets, and bake at 350°F for 12-15 minutes. These dry out nicely and become almost jerky-like.
Warning: Make these when you’re prepared for your kitchen to smell like a butcher shop. But your dog will literally forget you exist when these are around. They’re the ultimate high-value treat for serious training work.
Recipe #6: Pumpkin Oat Cookies (The Crowd Pleaser)
Pumpkin is basically the pumpkin spice latte of the dog world—everyone loves it, it’s naturally sweet, and it’s incredibly good for digestion. These treats are perfect for dogs with sensitive stomachs.
Ingredients:
- 1 cup pumpkin puree (canned is fine)
- 1/2 cup peanut butter
- 2 cups oats
- 1 egg
- 1 teaspoon cinnamon
Instructions: Mix everything together, drop onto baking sheets, and bake at 350°F for 15-18 minutes. These smell amazing and store beautifully.
These are particularly great for appetite stimulation in picky eaters because the pumpkin naturally encourages eating.
Recipe #7: Cottage Cheese and Banana Soft Bites
For dogs with dental issues or seniors who can’t handle hard treats, these soft bites are perfect. Cottage cheese is packed with calcium and protein, and bananas add potassium and natural sweetness.
Ingredients:
- 1 cup cottage cheese
- 2 ripe bananas, mashed
- 1 cup oats
- 1 egg
Instructions: Mix all ingredients, drop onto parchment-lined baking sheets, and bake at 325°F for 15 minutes. These come out soft and chewy.
These are ideal for finicky eaters because the banana adds sweetness without any artificial ingredients.
Recipe #8: Tuna and Sweet Potato Flakes (For Cats)
Yes, we’re finally talking about cats. They’re harder to impress than dogs, but tuna and sweet potato is basically the feline equivalent of winning the lottery.
Ingredients:
- 1 can tuna in water (drained)
- 1/2 cup mashed sweet potato
- 1 egg white
- 1/4 cup whole wheat flour
Instructions: Mix ingredients, spread thin on a baking sheet, bake at 300°F for 12-15 minutes, then break into small flakes. Store in the fridge.
These work brilliantly for cat foraging toys because they’re crumbly and encourage natural hunting behaviors.
Recipe #9: Beef Broth Popsicles (The Hydration Hack)
During summer or for dogs that don’t drink enough water, these are genius. Low-sodium beef broth frozen into popsicles gives your dog hydration plus flavor.
Ingredients:
- 2 cups low-sodium beef broth
- 1/4 cup finely chopped cooked chicken
- 1 tablespoon gelatin (optional, for extra firmness)
Instructions: Warm broth slightly if using gelatin, mix in, pour into molds, and freeze. These are ready in 4-6 hours.
These are particularly useful for portion control because they’re essentially zero calories but feel indulgent.
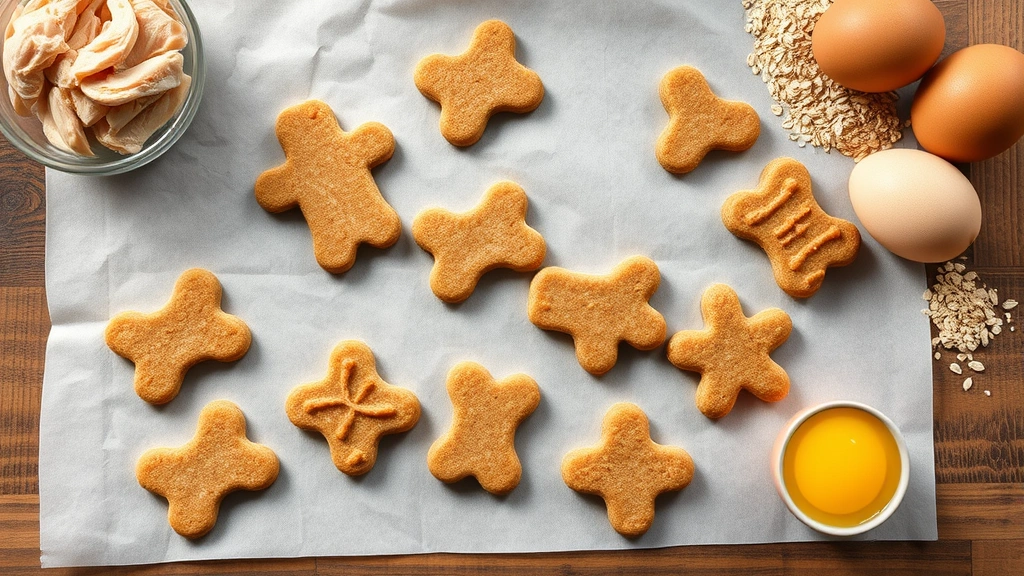
Recipe #10: Egg and Spinach Power Bites
Spinach is packed with iron and nutrients, and when combined with eggs, you’ve got a protein powerhouse that’s perfect for active dogs.
Ingredients:
- 4 eggs
- 1 cup finely chopped spinach
- 1/2 cup oats
- 1/4 cup grated cheddar cheese (optional)
Instructions: Blend eggs and spinach, mix with oats and cheese, bake in muffin tins at 350°F for 15 minutes. Pop out and store in the fridge.
These are great for dogs that need extra nutrition or are recovering from illness.
Storage and Safety Tips for Homemade Treats
Here’s where people mess up: they make a huge batch and wonder why it goes bad. Homemade treats lack preservatives, so storage matters.
Refrigerator: Most treats last 5-7 days in an airtight container.
Freezer: Most recipes freeze beautifully for up to 3 months. Freeze in portions so you can thaw what you need.
Room temperature: Only shelf-stable if they’re completely dried out (like the beef liver jerky). Even then, use within a week.
Always check ingredients for pet safety. If you’re unsure whether something is safe, check with your veterinarian. The ASPCA Animal Poison Control Center and the American Kennel Club both have comprehensive lists of toxic foods.
Making Treats Truly High-Value for Training
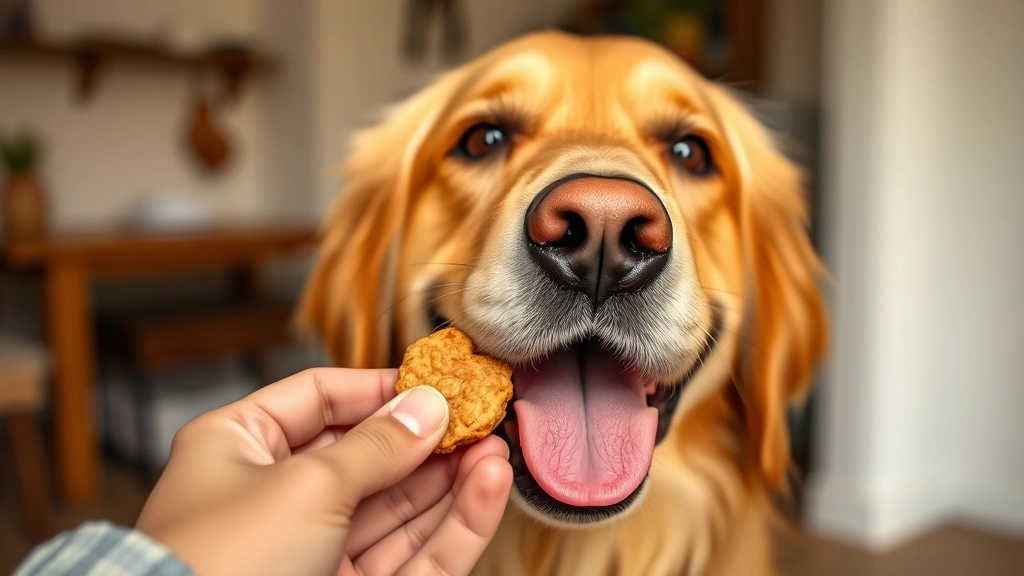
The secret to high-value treats from kitchen ingredients isn’t just the recipe—it’s the strategy. A treat is only high-value if your dog wants it more than anything else at that moment.
Reserve your best homemade treats for serious training sessions. Don’t give them out randomly or your dog won’t see them as special. Use them when you’re working on difficult commands or behaviors that require serious motivation.
Rotate recipes so your dog doesn’t get bored. What’s irresistible one week might be boring the next. Having 10 different recipes means you’ve always got something that’ll capture their attention.
Size matters too. For training, treats should be tiny—pea-sized for small dogs, marble-sized for large dogs. You want them to swallow quickly and come back for more, not spend five minutes chewing.
According to PetMD, treats should make up no more than 10% of your pet’s daily caloric intake. When you’re making your own, it’s easier to track because you know exactly what’s in them.
Customizing Recipes for Your Pet’s Needs
The beauty of making your own treats is that you can customize them for your specific pet. Has your dog got allergies? Swap out ingredients. Picky eater? Add more flavor. Senior dog with bad teeth? Make them softer.
If your dog has a chicken allergy, use beef or turkey instead. If they’re sensitive to grains, use sweet potato or pumpkin as your base. If they need extra calories, add a bit of coconut oil or fish oil.
Check with your vet if your dog has specific health conditions. Cornell University’s College of Veterinary Medicine has excellent resources on nutrition for dogs with health issues.
Frequently Asked Questions
Can I use store-bought peanut butter for treats?
Only if it’s xylitol-free. Check the label carefully—xylitol is toxic to dogs even in small amounts. Natural peanut butter without added sugars is your safest bet.
How long do frozen treats last?
Frozen treats typically last 2-3 months in the freezer. Label them with the date so you don’t forget when you made them.
Are homemade treats safe for puppies?
Yes, but adjust portions. Puppies have smaller stomachs, so treats should be even tinier. Avoid anything too hard that could be a choking hazard. Stick with soft recipes for puppies under 6 months old.
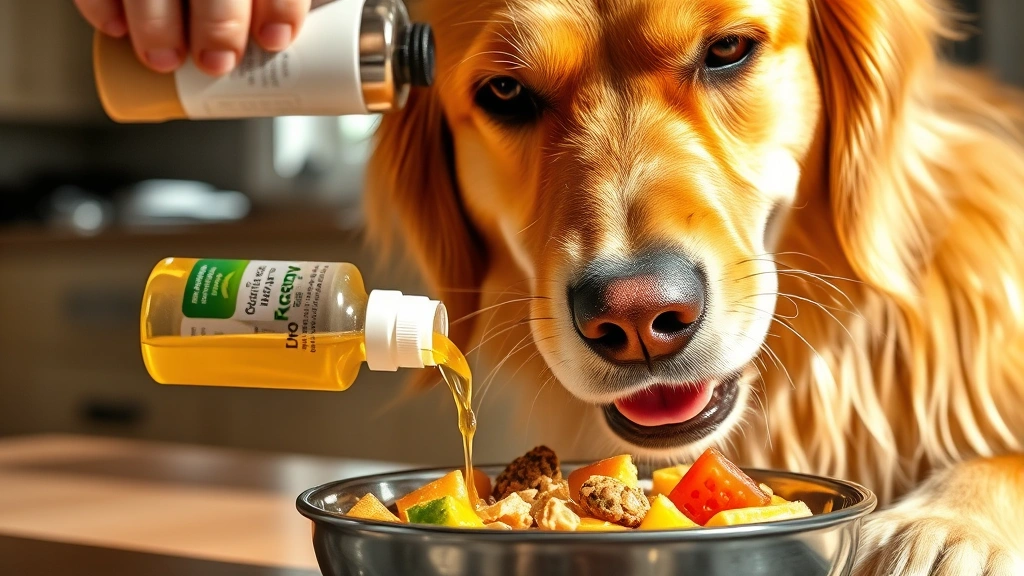
Can I add supplements to these treats?
You can, but talk to your vet first. Some supplements interact with other ingredients, and dosing matters. Your vet can recommend the best approach for your specific pet.
What if my dog has a sensitive stomach?
Stick with simple recipes like the pumpkin oat cookies or the cottage cheese banana bites. Introduce new treats slowly and watch for any digestive upset. If your dog has chronic digestive issues, check with your vet before adding treats.
Can I make these treats for cats?
Some recipes work, but cats are pickier. The tuna and sweet potato flakes are your best bet. Keep portions tiny—cats need even less than dogs.
Conclusion: Treat-Making Is Actually Easy
Making high-value treats from kitchen ingredients isn’t complicated, and it doesn’t require fancy equipment or rare ingredients. You probably have everything you need in your kitchen right now.
The real benefit isn’t just saving money (though that’s nice). It’s the control you have over what your pet eats, the customization you can do for their specific needs, and the genuine joy of watching them absolutely lose their minds over something you made. That’s the good stuff.
Start with one or two recipes that match your pet’s preferences. Master those, then expand. Before you know it, you’ll have a rotation of treats that’ll make your pet think you’re basically a professional baker. And honestly? You kind of are.