Learning how to clean a cut on a dog is one of those pet parent skills that separates the “oh crap, what do I do?” moments from the “I got this” moments. Your furry friend just came inside with a bleeding wound, and now you’re standing there wondering if you should panic or grab the first-aid kit. Spoiler alert: grab the first-aid kit and take a breath. We’re going to walk you through exactly how to handle this situation like a pro.
Table of Contents
- Why Proper Dog Wound Care Matters
- Gather Your Supplies Before You Start
- Step 1: Calm Your Dog and Assess the Wound
- Step 2: Stop the Bleeding (If Necessary)
- Step 3: Flush the Wound with Lukewarm Water
- Step 4: Use a Mild Cleanser for Deeper Cleaning
- Step 5: Remove Any Embedded Debris
- Step 6: Apply Antibiotic Ointment (The Right Way)
- Step 7: Decide on Bandaging or Covering
- Step 8: Monitor for Signs of Infection
- When to Call the Vet Immediately
- Recovery and Aftercare Tips
- Frequently Asked Questions
- Summary: You’ve Got This
Why Proper Dog Wound Care Matters
Before we jump into the nitty-gritty of wound cleaning, let’s talk about why this actually matters. A cut on your dog’s skin isn’t just a cosmetic issue—it’s an open door for bacteria and infections. Dogs love rolling around in dirt, splashing through puddles, and doing generally grimy things, so their wounds are basically VIP invitations for nasty infections. Proper wound care prevents complications, speeds up healing, and keeps your pup comfortable while their body does its thing.
Think of wound cleaning as your dog’s first line of defense. You’re basically playing the role of their immune system’s bodyguard, keeping the bad guys out before they can cause real trouble.
Gather Your Supplies Before You Start
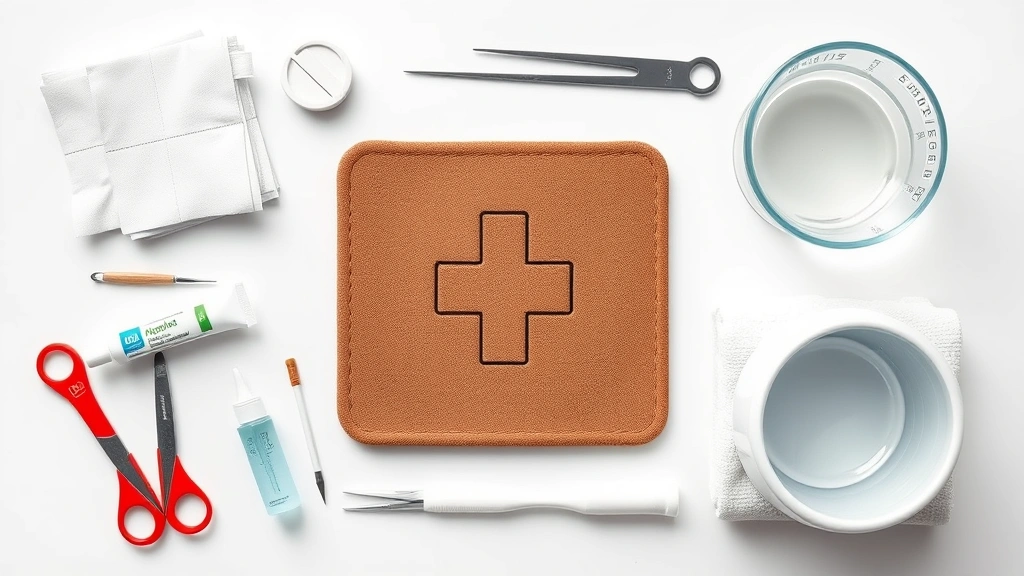
Here’s the thing about first aid: it’s way easier when you’re not scrambling around looking for supplies while your dog is bleeding. Get everything ready first. You’ll need:
- Clean gauze or cotton balls
- Lukewarm water (room temperature or slightly warm)
- Saline solution (optional but helpful)
- Mild soap or pet-safe cleanser
- Antibiotic ointment for dogs
- Clean towels
- Tweezers (for removing debris)
- A helper (seriously, this makes life easier)
Having everything laid out means you can focus on your dog instead of playing treasure hunt in your bathroom cabinet while they’re actively bleeding.
Step 1: Calm Your Dog and Assess the Wound
Your dog can sense your panic like a dog can sense when you’re opening the treat bag from three rooms away. Take a deep breath. Speak in a calm, reassuring voice. If your pup is freaking out, take a moment to let them settle down before you start poking around their injury.
Now, assess what you’re dealing with. Is it a small surface scratch? A deeper gash? Is there visible debris or dirt embedded in the wound? Look for signs that this might need professional attention: excessive bleeding that won’t stop, gaping edges, or a wound longer than half an inch. If you see any of those red flags, skip the home treatment and head straight to your vet.
For minor cuts and scrapes, you’re good to proceed with home care.
Step 2: Stop the Bleeding (If Necessary)
If your dog’s cut is actively bleeding, apply gentle pressure with a clean cloth. Don’t go full tourniquet mode—just steady, gentle pressure for a few minutes. Most minor cuts stop bleeding pretty quickly once you apply pressure. If bleeding continues after five minutes of direct pressure, that’s your sign to call the vet.
Once bleeding has slowed or stopped, you’re ready to clean. Just resist the urge to squeeze the wound or do anything that’ll restart the bleeding party.
Step 3: Flush the Wound with Lukewarm Water
This is where the actual cleaning begins. Use lukewarm water—not hot, not ice cold. Gently flush the wound to rinse away dirt, debris, and anything else that shouldn’t be there. You can use a clean cloth, gauze, or even a spray bottle filled with water. The goal is to remove surface contamination without being aggressive about it.
If your dog has a wound on a paw or leg, running it under lukewarm tap water works great. For wounds on the body, use a cloth dampened with water and gently dab the area. This isn’t the time to channel your inner scrubber—gentleness is key.
Step 4: Use a Mild Cleanser for Deeper Cleaning
After the initial water rinse, you can use a mild soap or pet-safe cleanser. Avoid human soaps, antibacterial washes, and anything with harsh chemicals—your dog’s skin is different from yours, and these products can irritate the wound and surrounding skin.
Apply the cleanser gently with a soft cloth or gauze, working in circular motions around the wound. Rinse thoroughly with clean water afterward. You want to remove all soap residue because leaving cleanser in the wound is asking for irritation. Think of this as a gentle spa treatment, not a scrubbing session.
Step 5: Remove Any Embedded Debris
Sometimes dogs get stuff stuck in their wounds—dirt, gravel, grass, or other debris. If you can see something embedded in the cut, use clean tweezers to gently remove it. If it’s really stuck or you’re worried about causing more damage, this is a perfect time to call your vet instead of playing surgeon.
For minor debris that comes out easily, remove it and then re-rinse the wound with water. For anything stubborn or deep, leave it for the professionals. Your vet has better tools and steadier hands than you probably do.
Step 6: Apply Antibiotic Ointment (The Right Way)
Once your dog’s wound is clean and dry, it’s time for the protective layer. Antibiotic ointment for dogs is your friend here. Apply a thin layer directly to the wound. Don’t glob it on—a little goes a long way.
Some people ask about using chlorhexidine for dogs as an alternative. Chlorhexidine is a great antimicrobial option that vets often recommend, especially for more serious wounds. If you have it on hand, it works beautifully. Follow the product instructions for application.
The ointment creates a barrier against bacteria and keeps the wound moist, which actually speeds up healing. Contrary to what you might think, wounds heal faster when they’re slightly moist, not bone dry.
Step 7: Decide on Bandaging or Covering
Here’s where things get tricky. Some wounds benefit from bandaging; others don’t. If the cut is on a paw or an area your dog will lick constantly, covering it is smart. If it’s on their body and they’re not obsessing over it, leaving it exposed might be better for air circulation.
If you do bandage, use clean gauze and secure it gently with medical tape. Change the bandage daily and check the wound for signs of infection. Liquid bandage for dogs is another option that works well for minor cuts—it protects the wound and prevents licking without the hassle of traditional bandages.
The key is keeping your dog from licking the wound obsessively. We know, we know—they think their tongue is a healing superpower, but it’s actually a bacteria delivery system. If your dog won’t stop licking, talk to your vet about an Elizabethan collar (the cone of shame, but actually useful).
Step 8: Monitor for Signs of Infection
After you’ve cleaned and treated the wound, your job isn’t done. Check it daily for signs of infection. What should you look for? Increased redness, swelling, discharge (especially if it’s yellow or green), a bad smell, or your dog seeming more uncomfortable. If you notice any of these, contact your vet.
Also watch your dog’s behavior. If they’re limping more, licking excessively, or acting generally unwell, that’s a sign something might be wrong. Your vet is just a phone call away, and they’d rather answer questions than treat a serious infection that could’ve been caught early.
When to Call the Vet Immediately
Some situations require professional help from the jump. Call your vet if:
- The bleeding won’t stop after 10 minutes of pressure
- The wound is deep or gaping
- The wound is longer than half an inch
- The wound is on the face, near the eyes, or on a joint
- Your dog was bitten by another animal (infection risk is high)
- The wound shows signs of infection
- Your dog seems to be in severe pain
- You’re unsure whether you can handle it at home
Honestly, if you’re uncertain, it’s better to err on the side of caution. Telehealth vet appointments are now available for quick consultations if you want professional eyes on the wound before deciding whether to come in.
Recovery and Aftercare Tips
Once you’ve cleaned and treated the wound, keep an eye on it during the healing process. Most minor cuts heal within 1-2 weeks. During this time:
- Keep the wound clean and dry
- Reapply ointment as needed (usually once or twice daily)
- Prevent your dog from licking or chewing the area
- Avoid letting them play in dirty or wet environments
- Check for any signs of infection
If the wound isn’t improving after a week or shows any signs of infection, contact your vet. Some wounds that seem minor can develop complications, and your vet is the best person to handle those situations.
Frequently Asked Questions
Can I use hydrogen peroxide to clean my dog’s wound?
While hydrogen peroxide does kill bacteria, it can also damage healthy tissue and slow healing. It’s better to stick with lukewarm water and mild soap. If you really want to use hydrogen peroxide, dilute it significantly and use it only for initial cleaning, not ongoing care.
What if my dog won’t stop licking the wound?
This is super common. Try covering the wound with a bandage or liquid bandage, or use an Elizabethan collar (cone). You can also apply a bitter-tasting deterrent spray made for dogs. If licking persists despite these measures, contact your vet—excessive licking can indicate pain or infection.
How do I know if the wound is infected?
Signs of infection include increased redness, swelling, discharge (especially colored discharge), warmth around the wound, a bad smell, or your dog acting lethargic or in pain. If you notice any of these, call your vet right away.
Is it okay to use human antibiotic ointment on my dog?
Some human ointments are safe, but many contain ingredients that aren’t ideal for dogs. It’s better to use products specifically formulated for dogs to avoid potential irritation or toxicity. Your vet can recommend the best option.
How often should I clean the wound?
For the first day or two, you can clean it a few times. After that, once or twice daily is usually sufficient unless it gets dirty. Avoid over-cleaning, as this can irritate the healing tissue.
What’s the difference between a wound I can treat at home and one that needs a vet?
Home-treatable wounds are minor surface cuts or scrapes that aren’t bleeding excessively, aren’t deep, and aren’t in sensitive areas. Anything deeper, longer than half an inch, on the face or joints, or from a bite should see a vet. When in doubt, call your vet.
Summary: You’ve Got This
Learning how to clean a cut on a dog is a valuable skill that makes you a better pet parent. The process is straightforward: stay calm, assess the wound, stop bleeding if needed, flush with water, use mild soap, remove debris, apply antibiotic ointment, decide on bandaging, and monitor for infection. Most minor cuts heal beautifully with this simple home care routine.
Remember, you know your dog best. If something feels off or you’re unsure about anything, your vet is there to help. There’s no such thing as a silly question when it comes to your pup’s health. Now go forth and be the wound-cleaning hero your dog deserves!
External Resources: