
Learning how to draw a corgi dog is easier than you think, and honestly, it’s one of the most rewarding artistic adventures you can embark on. Corgis are adorable little furballs with those signature short legs, fluffy coats, and expressive faces that practically beg to be sketched. Whether you’re a complete beginner or someone who hasn’t picked up a pencil since third grade, this guide will walk you through the entire process step-by-step.
Table of Contents
- Why Corgis Make Perfect Drawing Subjects
- Gathering Your Drawing Materials and Tools
- Step 1: Sketching the Basic Head Shape
- Step 2: Mapping Out the Body and Legs
- Step 3: Adding Facial Features and Personality
- Step 4: Refining the Outline and Adding Details
- Step 5: Shading and Bringing Your Corgi to Life
- Common Mistakes to Avoid When Drawing Corgis
- Tips for Adding Your Personal Artistic Style
- Practice Exercises to Level Up Your Corgi Drawing Skills
- Understanding Corgi Anatomy for Better Drawings
- Taking Your Corgi Drawings to the Next Level
- Frequently Asked Questions
- Conclusion: Your Corgi Drawing Journey Starts Now
Why Corgis Make Perfect Drawing Subjects
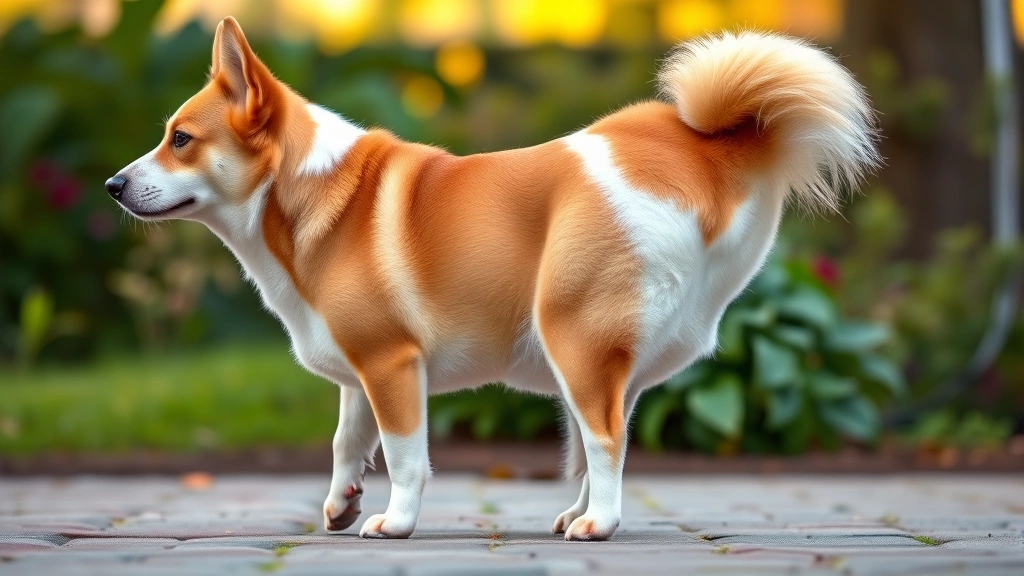
Before we dive into the nitty-gritty of how to draw a corgi dog, let’s talk about why these Welsh wonders are such fantastic subjects for artists. Corgis have distinctive proportions that are actually forgiving for beginners. Their short, stocky bodies mean you don’t have to worry about getting those impossibly long legs right. Plus, their expressive eyes and perky ears give your drawing instant personality. Unlike some dog breeds that require precise anatomical knowledge, corgis are naturally cartoonish-looking, which works in your favor when you’re learning.
Gathering Your Drawing Materials and Tools
You don’t need a fancy art studio or expensive supplies to start drawing. Here’s what I recommend keeping on hand: a good quality HB or 2B pencil, a kneaded eraser (way better than regular erasers), some smooth drawing paper or a sketchbook, and a blending stump if you want to add shading. Honestly, you can start with just a regular pencil and printer paper if that’s all you have. The beauty of learning how to draw a corgi dog is that it doesn’t require fancy equipment—just your willingness to try.
Step 1: Sketching the Basic Head Shape
Start by lightly drawing a circle for the corgi’s head. Don’t press hard with your pencil—you want these initial lines to be barely visible. Below the circle, draw a slightly smaller circle that will serve as the muzzle or snout area. These two circles should overlap slightly. This is the foundation of how to draw a corgi dog’s face, and getting this right makes everything else fall into place. The head-to-muzzle ratio is crucial because corgis have that characteristic fox-like face with a proportionally large head.
Step 2: Mapping Out the Body and Legs
Now for the fun part—the corgi’s signature stubby legs. Draw an oval or rectangle beneath the head circle to represent the body. Make it wider than it is tall, because corgis are built like little furry potatoes. Then add four small circles or ovals below the body for the legs. Here’s the key: keep those legs SHORT. This is what makes a corgi instantly recognizable. If your legs look too long, you’ve accidentally drawn a German Shepherd. Position the legs so they’re evenly spaced beneath the body. The back legs should angle slightly outward, giving your corgi that characteristic stance.
Step 3: Adding Facial Features and Personality
This is where your corgi really comes to life. Draw two almond-shaped eyes in the upper portion of the head circle, positioning them slightly closer together than you might think. Corgis have this adorable slightly-crossed-eyed look sometimes, so don’t stress about perfect symmetry. Add a small black nose at the end of the muzzle, then sketch a gentle curved line for the mouth. The mouth should be subtle—just a small line or gentle curve. Add triangular ears on top of the head, tilting them forward slightly for that alert, interested expression. If you want to make your corgi look extra cute, add a small tongue peeking out. When learning how to draw a corgi dog, these facial details are absolutely everything.
Step 4: Refining the Outline and Adding Details
Once you’re happy with the basic shapes, start refining the outline. Erase some of those construction lines and draw cleaner, more defined edges around the body, legs, and head. Add details like individual toe pads on the feet, a fluffy tail (usually curled or wagging), and texture lines to suggest the corgi’s thick, fluffy coat. Pay special attention to the fur texture around the neck, chest, and rear end—corgis have this luxurious fluff that really distinguishes them. Add some wispy lines to show where the fur flows. This is also a good time to add any markings your corgi might have, like the typical red and white or fawn and white coloring patterns.

Step 5: Shading and Bringing Your Corgi to Life
Now comes the shading that transforms your line drawing into a three-dimensional corgi. Use your pencil to add shadows beneath the body, on the underside of the legs, and around the facial features. Shade one side of the face slightly darker to create dimension. Use lighter shading for the chest and belly areas, and darker shading for the back and sides. This creates a sense of volume and makes your corgi look less flat. If you have a blending stump, use it to smooth out some of the shading for a more polished look. Add highlights in the eyes by leaving small white spots—this makes them sparkle and gives your corgi that alive, engaging expression.
Common Mistakes to Avoid When Drawing Corgis
Even experienced artists make mistakes when learning how to draw a corgi dog. The most common error is making the legs too long—remember, short and stubby is the name of the game. Another frequent mistake is placing the eyes too far apart or making them too big. Corgi eyes should be relatively small and expressive, not huge and bulging. Don’t forget about the proportions of the head to the body either; the head should be roughly the same size or slightly larger than the body. Many beginners also make the mistake of drawing the ears too small or in the wrong position. Corgi ears should be prominent and positioned on the sides of the head, not on top like a German Shepherd’s.
Tips for Adding Your Personal Artistic Style
Once you’ve mastered the basic structure of how to draw a corgi dog, it’s time to experiment and develop your own style. Try drawing your corgi in different poses—sitting, lying down, running, or playing. Experiment with different expressions: happy, sleepy, confused, or mischievous. You can also try different mediums like colored pencils, markers, or even digital art. Some artists love adding backgrounds, like a park or living room setting. Others prefer focusing on the corgi itself. There’s no wrong way to do this. If you want to practice drawing different dog breeds for comparison, you might check out resources about coonhound dogs or Colorado mountain dogs to understand how different breeds have unique proportions.
Practice Exercises to Level Up Your Corgi Drawing Skills
The best way to improve is through consistent practice. Try drawing the same corgi head multiple times in one sitting—you’ll notice improvement with each attempt. Draw corgis from different angles: front-facing, three-quarter view, and side profile. Each angle presents unique challenges and teaches you something new about the breed’s anatomy. Sketch quick gesture drawings where you spend just 2-3 minutes capturing the essence of a corgi pose without worrying about details. These quick sketches build your confidence and help you understand movement and proportion instinctively. You can also use reference photos of real corgis from breed resources like the American Kennel Club’s corgi page to study real anatomy.
Understanding Corgi Anatomy for Better Drawings
To truly master how to draw a corgi dog, understanding their actual anatomy helps tremendously. Corgis are a herding breed originally from Wales, and their short legs were specifically bred to help them herd cattle without getting kicked. Their bodies are long and low to the ground, with a deep chest and sturdy frame. Their heads are fox-like with alert, intelligent eyes. Their ears are large and mobile, constantly moving to pick up sounds. Their tails are typically bushy and can curl over their backs. Knowing these breed characteristics helps you draw more authentic and recognizable corgis. If you’re interested in corgi care and nutrition to better understand the breed overall, resources about what dogs can eat and whether dogs can eat fruits provide helpful breed-specific information.
Taking Your Corgi Drawings to the Next Level
Once you’ve mastered basic corgi drawing, consider exploring more advanced techniques. Try drawing corgis in different lighting conditions—backlighting, side lighting, or dramatic shadows. Experiment with different art styles: realistic, cartoon, anime, or abstract. Learn to draw multiple corgis interacting with each other. Try creating a full scene with a corgi as the main subject. You can also explore digital drawing using tablets and apps like Procreate or Adobe Fresco. Many artists find that digital tools offer more flexibility for experimentation and correction. Join online art communities to share your work and get feedback from other artists. The journey of learning how to draw a corgi dog doesn’t end with mastering the basics—it’s just the beginning of endless creative possibilities.
Frequently Asked Questions
How long does it take to learn how to draw a corgi dog?
Most beginners can create a recognizable corgi drawing in 30-60 minutes once they understand the basic steps. However, creating a polished, detailed drawing might take 2-3 hours. The more you practice, the faster you’ll become. Some artists can sketch a quick corgi in just 10-15 minutes after they’ve had plenty of practice.
What if I mess up while drawing?
That’s literally the entire point of drawing! Mistakes are where learning happens. Use your kneaded eraser to gently remove mistakes without damaging the paper. If a section gets too messy, you can always start fresh on a new piece of paper. Many professional artists go through dozens of sketches before creating their final piece.
Do I need to be naturally talented to draw a corgi?
Absolutely not. Drawing is a skill, not a talent. Anyone can learn how to draw a corgi dog with practice and patience. Some people pick it up faster than others, but that’s true of any skill. The key is consistent practice and not giving up when your first attempts don’t look perfect.
Can I draw a corgi without using reference images?
You can, but using reference images makes the process much easier, especially when you’re learning. Reference images help you understand proportions, anatomy, and specific breed characteristics. Once you’ve drawn corgis many times from references, you’ll develop the muscle memory to draw them from imagination.
What’s the best way to shade a corgi drawing?
Start with light shading and gradually build up darker areas. Use a light hand with your pencil to create subtle gradations rather than harsh lines. Follow the direction of the fur growth, shading along the body’s contours. Leave highlights in the eyes and on raised areas like the nose and ears for dimension.
Conclusion: Your Corgi Drawing Journey Starts Now
Learning how to draw a corgi dog is an achievable goal for anyone willing to pick up a pencil and give it a try. By following these five steps—sketching the basic shapes, mapping out the body and legs, adding facial features, refining the outline, and shading—you’ll create a drawing that captures the adorable essence of this beloved breed. Remember that every artist started exactly where you are now, and the only difference between beginners and experienced artists is practice. Don’t be discouraged if your first attempt isn’t perfect; each drawing teaches you something new. Grab your pencil, find a comfortable spot, and start sketching. Your corgi masterpiece is waiting to happen. Happy drawing!