How to Use Rolling Dog Drywall Sanders: Expert Tips for Professional Results
If you’re tackling a home renovation project and wondering about rolling dog drywall sanders, you’ve landed in exactly the right place! Whether you’re a seasoned DIY enthusiast or picking up your first power tool, understanding how to properly operate this specialized equipment can mean the difference between a beautifully finished wall and a frustrating mess. Rolling dog sanders—also called pole sanders or drywall sanders—are essential tools for anyone serious about achieving that smooth, professional-quality finish on drywall.
The name “rolling dog” might sound quirky, but it perfectly describes how this tool works. The cylindrical sanding head literally rolls across your drywall surface, removing joint compound, smoothing imperfections, and preparing walls for painting or finishing. Unlike handheld sanders that require constant pressure and can lead to arm fatigue, rolling dog sanders distribute the work more evenly and efficiently. This guide will walk you through everything you need to know to master this invaluable tool.
Before we dive deep into the mechanics and techniques, it’s worth noting that proper drywall preparation is crucial for any renovation project. The same attention to detail you’d give to cleaning up after your furry friend applies to home improvement work—preparation is everything!
What Is a Rolling Dog Drywall Sanders?
A rolling dog drywall sander is a specialized power tool designed specifically for smoothing and finishing drywall surfaces. The device consists of a motorized head with a cylindrical sanding drum that rotates as you move it across the wall. The drum is covered with sandpaper of various grits, allowing you to perform different levels of sanding depending on your project needs.
The tool gets its distinctive name from the way the sanding head “rolls” across the surface, similar to how a dog might roll on the ground. This rolling motion is what makes it so effective at creating uniform results without the streaking or gouging that can happen with other sanding methods. Most rolling dog sanders come with an extendable pole that allows you to reach high areas without needing a ladder, making them particularly useful for ceiling work.
According to the American Society of Agricultural Engineers, proper tool selection is fundamental to achieving professional results in any finishing work. The rolling dog sander represents an evolution in drywall finishing technology that has become the industry standard for both professionals and serious DIYers.
These sanders typically weigh between 20-30 pounds and are available in both corded electric and battery-powered models. The choice between electric and battery-powered depends on your project scope and workspace layout. Battery-powered models offer greater mobility and no cord management concerns, while corded models provide unlimited runtime—important for larger projects.
Safety First: Essential Precautions
Before you even think about plugging in your rolling dog sander, safety must be your top priority. Drywall sanding generates significant amounts of fine dust that can irritate your respiratory system and eyes. This isn’t something to take lightly—proper protective equipment isn’t optional, it’s essential.
Here are the critical safety measures you must implement:
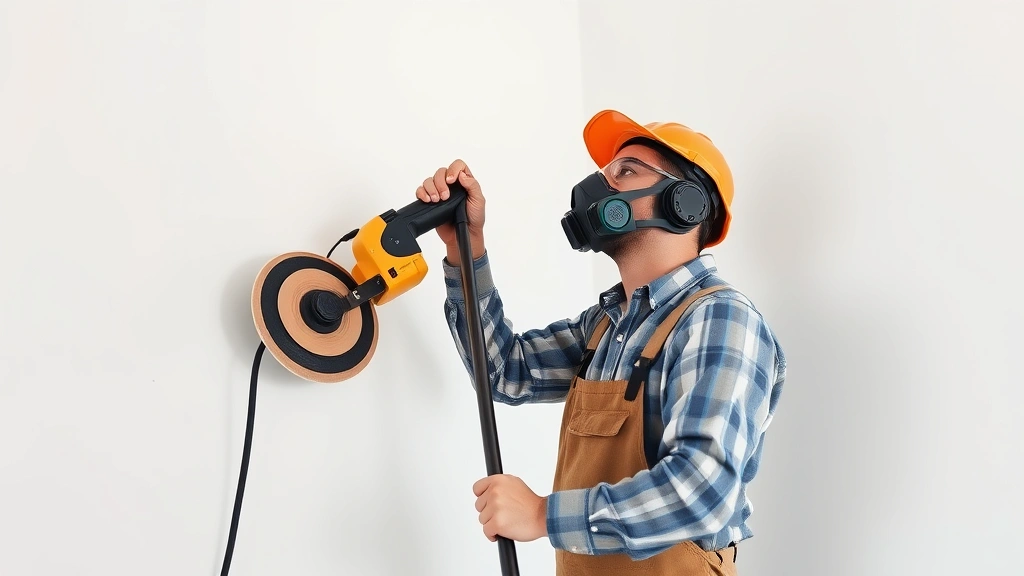
- Respiratory Protection: Wear a NIOSH-approved dust mask or respirator rated for fine particles. Standard paper masks won’t cut it—you need a P100 particulate respirator for drywall dust. This is just as important as eliminating stubborn odors from your home, except this protects your health directly.
- Eye Protection: Safety glasses or a full face shield protect your eyes from dust and debris kicked up during sanding.
- Hearing Protection: Rolling dog sanders produce noise levels around 85-90 decibels. Prolonged exposure without protection can damage your hearing.
- Proper Clothing: Wear long sleeves and pants to minimize skin exposure to dust. Consider wearing a dust-resistant jacket designed for construction work.
- Ventilation: Ensure adequate air circulation in your workspace. Open windows and consider setting up fans to direct dust toward exits rather than into the rest of your home.
Additionally, check that your work area is clear of tripping hazards and that your power cord is in good condition. Never operate a rolling dog sander with wet hands or in damp conditions, as this creates electrical hazards.
Preparing Your Workspace
Proper preparation separates amateur results from professional-quality finishes. Before you even touch the sander, your workspace needs attention to detail that rivals the care you’d take when addressing issues like removing stubborn pet odors.
Start by clearing the room of furniture and fixtures. Remove everything moveable—this isn’t just about creating space, it’s about protecting your belongings from the inevitable dust cloud. Even with ventilation, drywall dust travels far and settles on everything. If you can’t remove items, cover them thoroughly with plastic sheeting and seal the edges with tape.
Next, inspect your walls carefully for any protruding fasteners, outlet covers, or trim that might catch the sanding head. These need to be either removed or covered with painter’s tape. Check that your joint compound has fully dried—typically 24 hours for standard compound, though some formulations require longer. Attempting to sand wet compound will clog your sandpaper and produce poor results.
Protect your floors with drop cloths or plastic sheeting. The fine dust from drywall sanding is notoriously difficult to clean up. Use quality drop cloths that won’t slip around—slipping hazards during sanding can lead to accidents. If you’re working on multiple levels, remember that dust will travel downward, so protect lower areas as well.
According to the ASPCA, proper environmental control is important for household safety. While they focus on pet safety, the same principle applies to construction dust management. Ensure your home’s HVAC system won’t circulate sanding dust throughout other rooms by closing off your work area.
Set up your ventilation system before you start. Open windows on opposite sides of the room to create cross-ventilation. Position a box fan in one window facing outward to actively exhaust dust from the room. This setup makes a dramatic difference in dust management and worker comfort.
Step-by-Step Operation Guide
Now that your workspace is prepared and you’re properly equipped with safety gear, it’s time to learn the actual operation of your rolling dog drywall sander. This is where technique matters significantly.
Initial Setup:
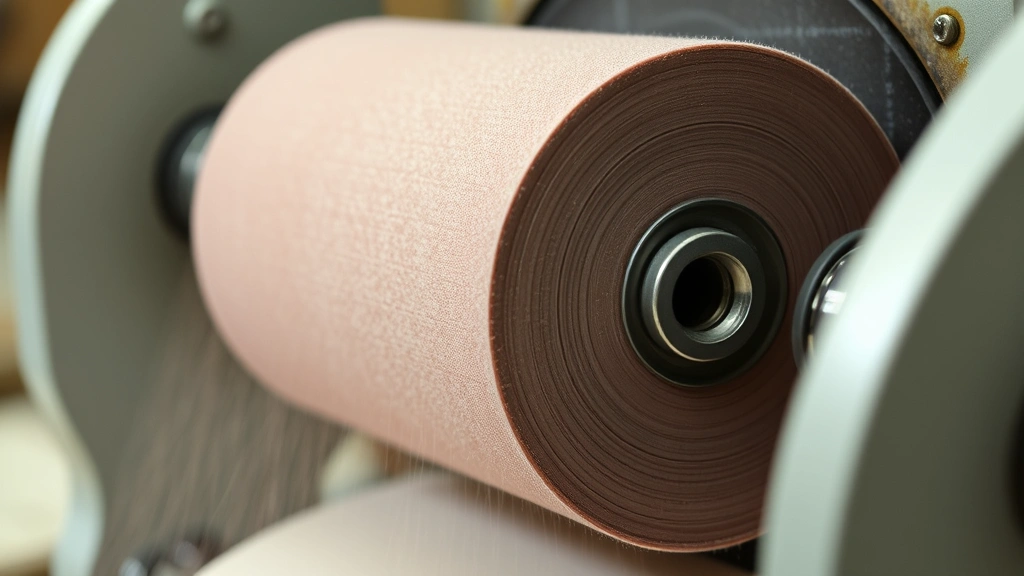
- Attach the appropriate grit sandpaper to the sanding drum. For initial smoothing of joint compound, typically start with 80-120 grit. For final finishing, use 150-180 grit.
- Connect the dust collection system if your sander has one. Many models include a dust bag or can connect to a shop vacuum, which dramatically reduces airborne dust.
- Extend the pole to a comfortable length. You should be able to reach the ceiling or upper walls with slight arm extension, not straining.
- Plug in the sander and do a brief test run away from the wall to ensure everything operates smoothly.
- Remove dust from the motor vents using compressed air. Dust accumulation restricts airflow and causes the motor to overheat.
- Inspect the sanding drum for debris or compound buildup. A soft brush removes most accumulation; stubborn buildup may require gentle scraping.
- Check the power cord for damage. Any cuts or exposed wiring mean the tool shouldn’t be used until repaired.
- Empty dust collection bags or clean filters. Full bags reduce suction and increase airborne dust.
Operating Technique:
Hold the sander with both hands, maintaining a firm but not rigid grip. The key is letting the tool do the work rather than forcing it. Start at the top of your work area and move downward in overlapping vertical passes. Overlap each pass by about 2-3 inches to ensure even coverage and avoid creating visible lines or patterns.
Maintain consistent pressure—this is critical. Too much pressure can gouge the drywall or create visible depressions; too little won’t effectively smooth the surface. Think of it like the steady approach you’d need when addressing something as delicate as ensuring your dog doesn’t consume drywall materials—gentle but purposeful.
Move the sander at a steady pace, typically about one foot per second. Let the rotating drum do the sanding work. Moving too quickly leaves unsanded areas; moving too slowly can create burn marks or excessive dust generation.
For corners and edges, you may need to use a smaller handheld sander or pole sander head specifically designed for detail work. The rolling drum of the dog sander can’t reach into tight corners effectively, so plan accordingly.

Multiple Passes Strategy:
Rarely will a single pass create the desired finish. Most professional results require two to three passes with progressively finer sandpaper. Start with 80-120 grit for initial smoothing, then progress to 150 grit, and finally 180 grit for the final finish. Between each grit progression, vacuum thoroughly to remove dust before switching sandpaper.
Pro Techniques for Best Results
Understanding the mechanics of rolling dog sander operation is one thing; mastering professional techniques is another. Here’s what separates good results from exceptional ones:
The Feathering Technique:
Feathering is the art of gradually blending sanded and unsanded areas to create smooth transitions. When you have a particularly thick area of joint compound or a ridge that needs more aggressive sanding, don’t just sand that spot repeatedly. Instead, sand it thoroughly, then gradually reduce pressure as you move outward, creating a gentle transition zone. This prevents the obvious “sanded patch” appearance.
Dust Management During Work:
Even with collection systems, dust accumulates on your work surface. Periodically wipe down your work area with a damp cloth or tack cloth—a sticky cloth designed specifically for picking up dust without adding moisture. This allows you to see your actual progress and catch imperfections you might otherwise miss.
Lighting Considerations:
Install bright work lights positioned to highlight surface irregularities. Professional drywall finishers often use specialized lighting that rakes across the surface at a low angle, making every imperfection visible. This helps you identify areas needing additional sanding before applying your final finish.
The “Skim Coat” Approach:
For the final passes, consider using a lighter touch with finer grit sandpaper. This “skim” approach removes only the highest points and dust nibs, preserving the overall finish without over-sanding. Over-sanding can actually compromise your final paint application.
The American Academy of Professional Drywall Finishing emphasizes that proper technique requires understanding the relationship between tool pressure, speed, and grit selection. These variables work together to create professional results.
Remember that just as you would carefully address issues like preventing destructive dog behavior through patience and technique, mastering drywall sanding requires practice and attention to detail.
Maintenance and Care
Your rolling dog sander is an investment that will serve you well if properly maintained. Neglect leads to reduced performance and shortened tool life.
After Each Use:
Regular Maintenance:
Every 20-30 hours of use, inspect the sanding drum bearings for smooth operation. Any grinding or resistance indicates bearing wear that requires professional service. Keep the pole connection points clean and free of debris—they should operate smoothly without excessive play.
Store your sander in a clean, dry location. Moisture promotes rust and electrical hazards. If storing for extended periods (more than a month), consider wrapping it in a breathable cloth to prevent dust accumulation while allowing air circulation.
Just as you’d maintain your home’s cleanliness to address issues like removing pet hair from vehicles, regular tool maintenance prevents bigger problems down the road.
Troubleshooting Common Issues
Uneven Sanding Results:
If your wall shows visible lines or uneven patches, you’re likely moving too quickly or applying inconsistent pressure. Slow down your passes and focus on maintaining even contact with the surface. Also verify that your sandpaper is properly attached—loose sandpaper creates uneven results.
Excessive Dust Generation:
While some dust is inevitable, excessive amounts indicate either your dust collection system isn’t functioning properly or your sandpaper is clogged. Check that dust collection connections are secure and filters are clean. Clogged sandpaper should be replaced immediately.
Sanding Drum Chattering:
A chattering or vibrating sensation indicates the drum isn’t properly balanced or the sandpaper isn’t evenly attached. Stop immediately and inspect. Improperly attached sandpaper can come loose during operation, creating safety hazards.
Lack of Cutting Power:
If the sander isn’t effectively smoothing the surface despite proper technique, your sandpaper has likely glazed over. This happens when dust clogs the sandpaper grit. Replace the sandpaper with a fresh sheet. Using dull sandpaper actually requires more pressure and causes more fatigue without better results.
Motor Running Slowly or Stalling:
Check your power source—ensure you’re using an adequately rated outlet. Underpowered circuits cause motors to run slowly or stall. Also verify that dust collection systems aren’t restricting airflow to the motor. Clean all vents and filters thoroughly.
Frequently Asked Questions
What grit sandpaper should I use for different stages?
Start with 80-120 grit for initial smoothing of joint compound. Progress to 150 grit for intermediate finishing, and use 180-220 grit for final finishing before painting. Some professionals even use 220-320 grit for ultra-smooth finishes.
Can I sand fresh joint compound immediately after application?
No—joint compound must fully cure before sanding. Standard compounds require 24 hours; lightweight compounds and specialty formulations may require longer. Sanding wet compound clogs sandpaper and produces poor results. Check your specific compound’s recommendations.
How do I prevent creating visible sanding lines?
Overlap your passes by 2-3 inches and maintain consistent pressure and speed. Avoid stopping and starting in the middle of a wall section. Use the feathering technique for areas needing extra attention. Proper lighting helps identify and correct lines before they become permanent.
Is a dust collection system necessary?
While not absolutely required, a dust collection system dramatically reduces airborne dust and improves visibility. Many modern sanders include collection bags or vacuum connections. The health benefits alone justify the minimal additional cost.
Can I use a rolling dog sander on textured walls?
Rolling dog sanders work best on smooth or lightly textured surfaces. Heavy textures may clog sandpaper quickly. For heavily textured walls, consider alternative approaches or consult professional finishers.
How do I know when my wall is properly sanded?
Visual inspection under good lighting is your best tool. Run your hand carefully across the surface—it should feel smooth without visible ridges or imperfections. Under raking light, the surface should appear uniform without visible sanding lines or patterns.
What’s the difference between a rolling dog sander and other drywall sanders?
Rolling dog sanders use a rotating cylindrical drum and are ideal for large flat surfaces. Detail sanders handle corners and edges. Handheld orbital sanders provide more control for smaller areas. Most professional projects use a combination of these tools.
Can I sand ceilings with a rolling dog sander?
Yes—the extendable pole design makes ceiling sanding possible without extensive scaffolding. However, overhead work is physically demanding. Take frequent breaks and ensure your setup is stable and secure. Many professionals rent equipment specifically for ceiling work.